
How to Restore Your Website with Acronis (via DirectAdmin)
Restoring your website with Acronis will consist of two parts, the first is restoring your website files, and the second is restoring the database from the same time stamp.
Follow these simple steps to restore your website with Acronis via DirectAdmin:
To restore the website files:
1. Log in to your DirectAdmin account. Click here for instructions on logging in to your reseller account via DirectAdmin.
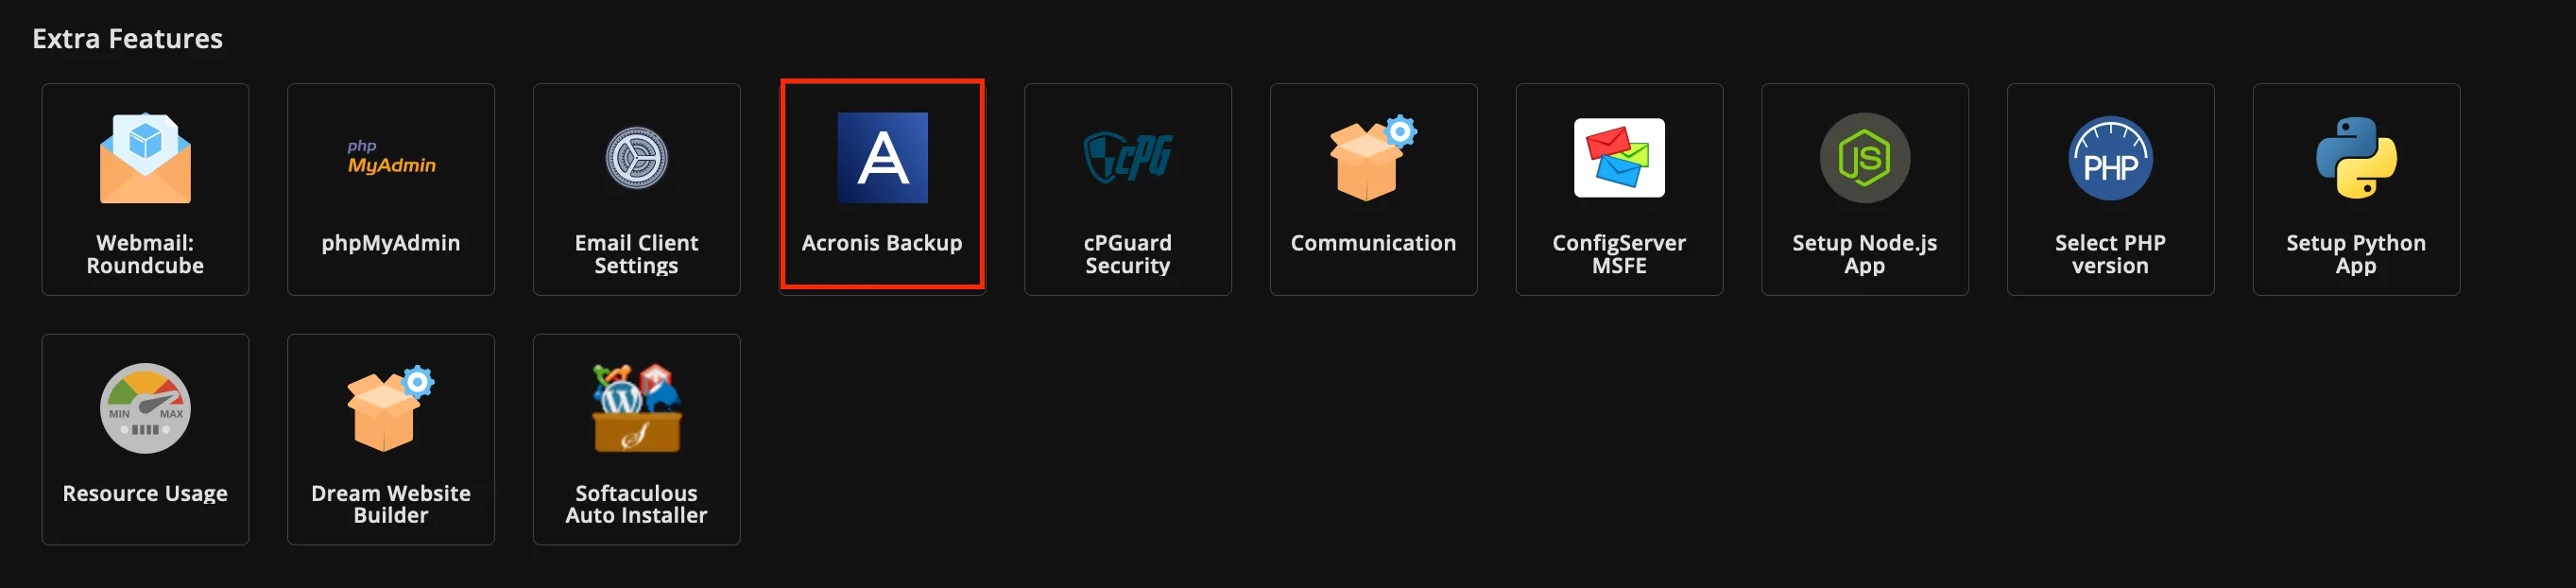
2. Under the Extra Features section, click Acronis Backup.
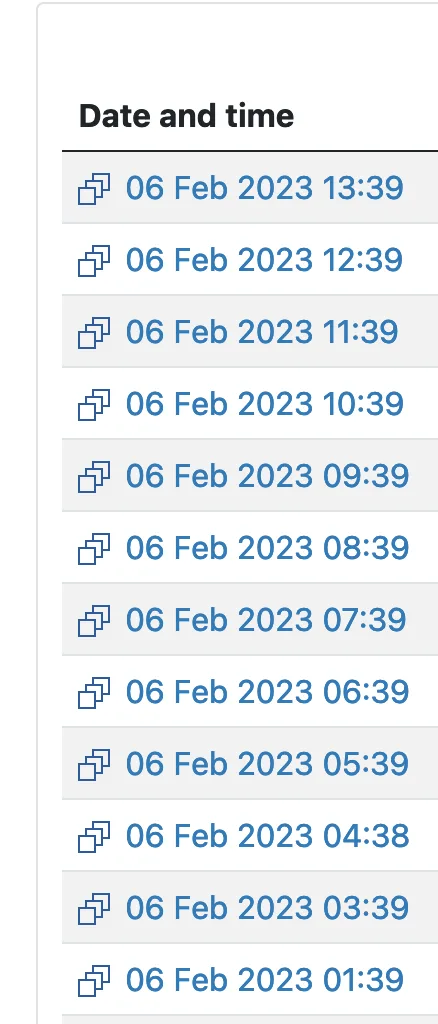
3. This page will show a list of timestamps for the backups available. Select the time stamp period for the files you wish to restore.
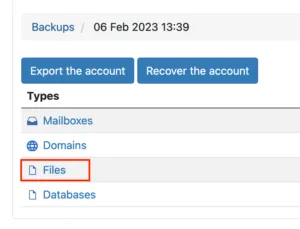
4. Different types of backups will be listed; click Files.
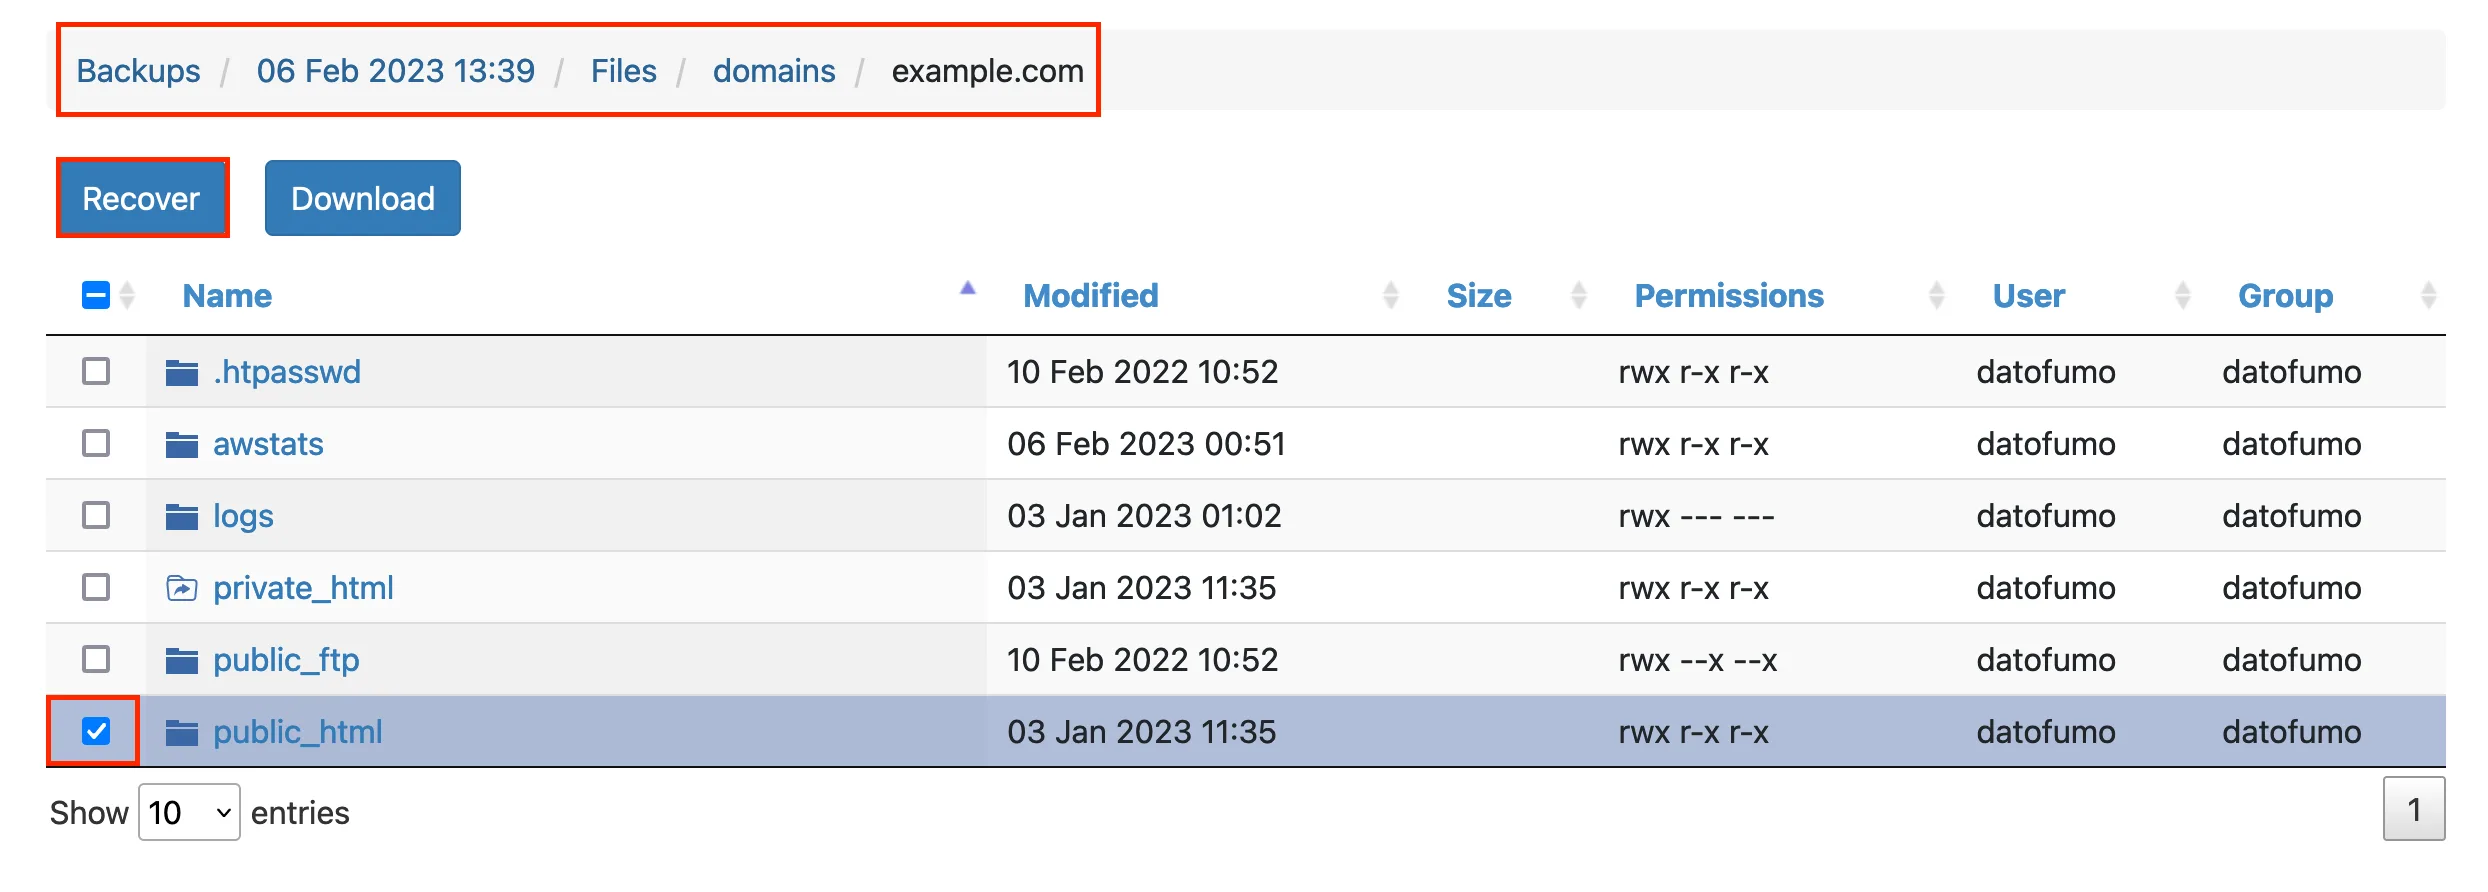
5. Navigate to your website folder directory and tick the box of the folder you wish to restore. (In DirectAdmin, the directory would be /domains/thedomainname/public_html). Once you have ticked the boxes relating to the folders/files you wish to restore, click Recover.
In this example, the file path would be /domains/example.com/public_html
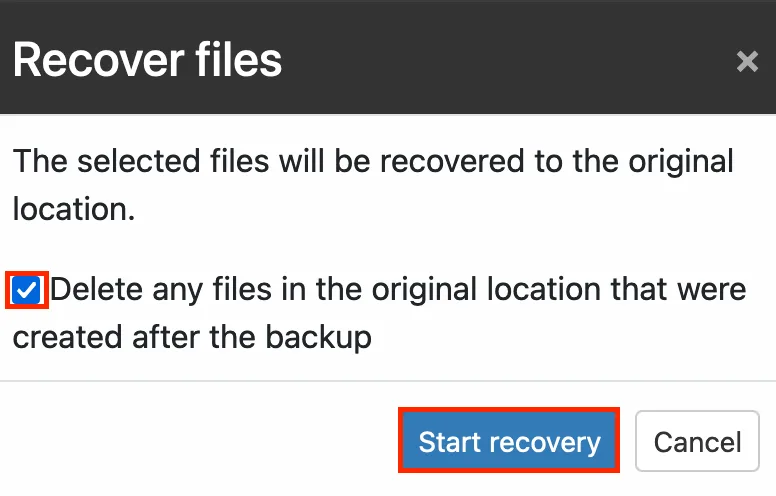
6. A pop-up box will appear that says, ‘Delete any files in the original location that were created after the backup’. Tick the box, then click the Start recovery button.
7. A bar will show that the recovery is in progress, and once complete, it will show the status of the recovery.

To restore the database:
1. Log in to your DirectAdmin account. Click here for instructions on logging in to your reseller account via DirectAdmin.
2. Under the files section, click Acronis Backup.
3. This page will show a list of timestamps for the backups available. Select the time stamp period for the files you wish to restore.
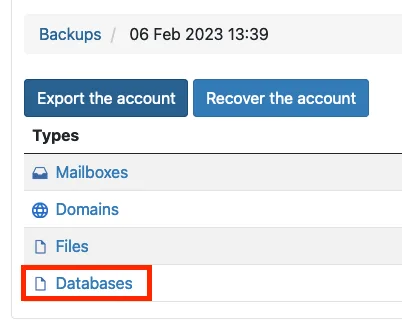
4. Types of backups will be listed; click Databases.
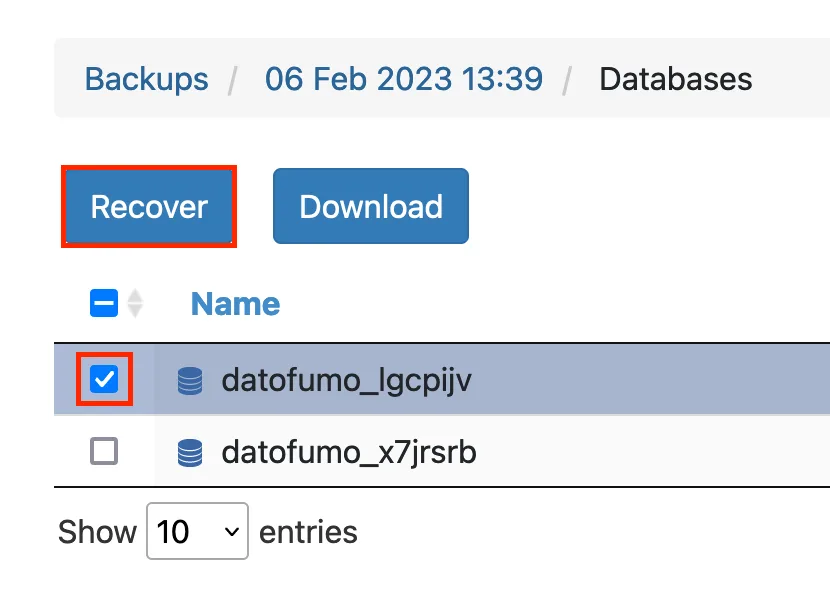
5. Tick the box of the corresponding database to your website, then click the Recover button.
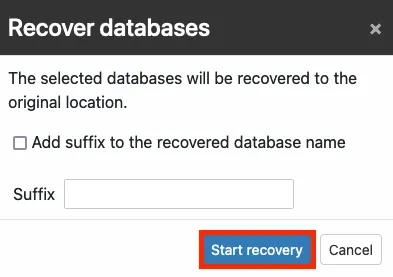
6. A pop-up box will say, ‘The selected databases will be recovered to the original location’. If you add a Suffix, it won’t delete the old database and will recover this one with a new name. When ready, click the Start recovery button.
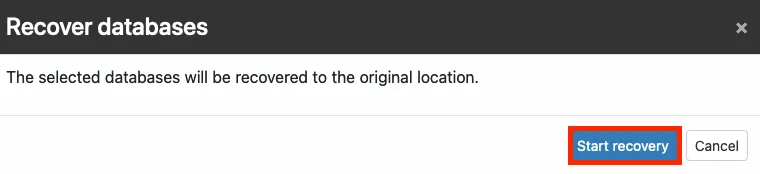
8. A pop-up will appear to confirm the database restoration; click the Start recovery button.
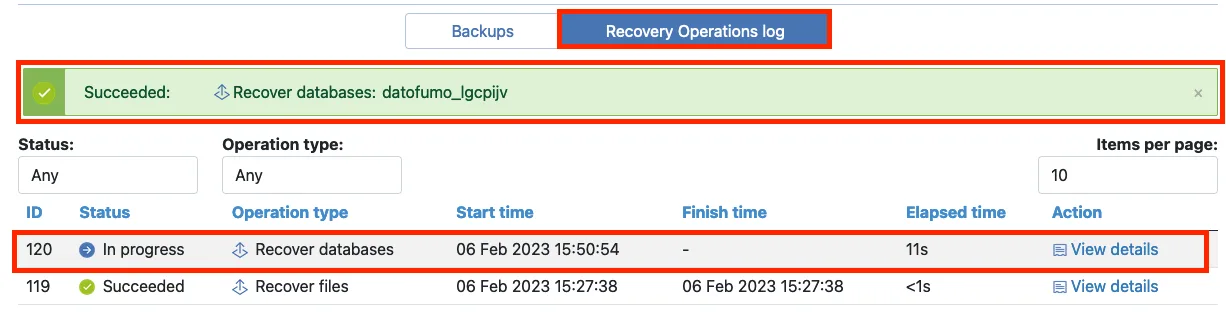
9. You can click on the Recovery Operation log tab to track the progress of the recovery.
Click here to view our Acronis Cyber Protect plans to back up all your devices.
Click here to learn more about Acronis.
Leave a comment
You must be logged in to post a comment.