How to Put Your WordPress Website into Maintenance Mode
Follow these steps to put your WordPress website into maintenance mode:
1. Log in to your control panel.
For instructions on how to log in to your DirectAdmin account, please click here.
For instructions on how to log in to your cPanel account, please click here.
2. Once logged in, click into File Manager.

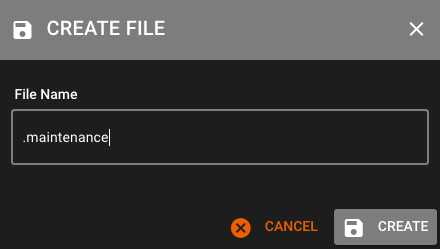
3. Go to the directory of your WordPress installation (most commonly under public_html).Whilst in your WordPress installation directory, add a create file called “.maintenance “.

4. Once created, right-click the .maintenance file, then click Edit.

5. Paste the following code into the file and save.
<?php
$upgrading = time();
?>
6. Once saved, this will put your website into maintenance mode. Anyone visiting the page will see the message below:

7. If you wish to customise this message, go back to File Manager. Head to your WordPress install directory (most commonly public_html folder), then double-click on the wp-content folder.
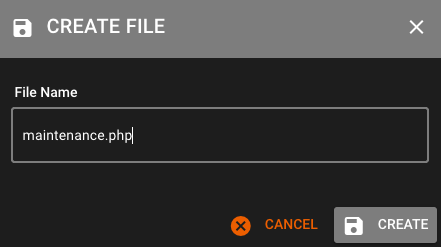
Create a new file called “maintenance.php” in the wp-content folder.

8. You can edit this file and add html/css/xml coding to display your customised maintenance page.
For example, the following code*:
<html>
<head><title>Offline for maintenance</title></head>
<body>
<h2 style="text-align: center;">Sorry, we're currently offline for scheduled maintenance.
We'll be back soon!</h2>
<p style="text-align: center;"><img src="https://example.com/wp-content/uploads/2021/12/clouds.jpg" width="900" height="700" /></p>
</body>
</html>
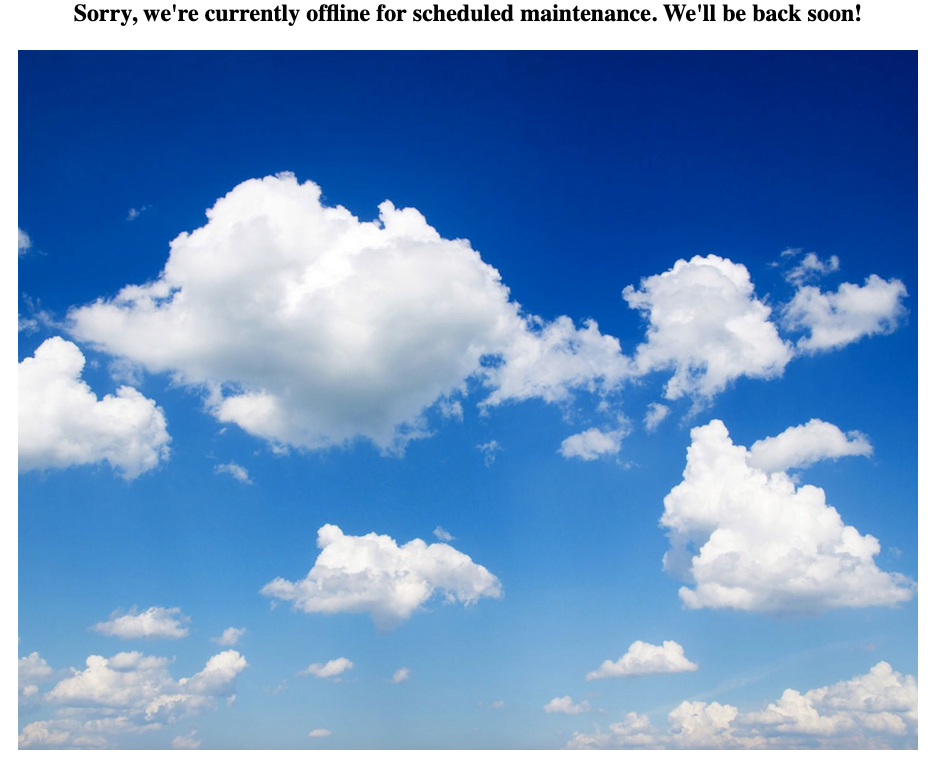
Will display the following maintenance page:

*This code is just an example and will not display the customised maintenance page above if copied and pasted.
DreamIT Host
Social Share: