How to Use the Unban Centre in MyDreamIT
Leave a comment
You must be logged in to post a comment.
How to Use the Unban Centre in MyDreamIT

Firewalls are vital for the reliability of the server. They are put in place to protect our network against cyber-attacks by blocking unnecessary connections and malicious or suspicious behaviour.
In some cases, this may cause a false positive result where the intent may not be malicious at all. However, it gets blocked due to suspicious behaviour. The most common example would be email clients/devices trying to log in to the server with incorrect credentials.
Generally speaking, when we fail to log in due to incorrect credentials, we usually resolve the issue by the 2nd, 3rd or 4th attempt. Unfortunately, email clients and devices are not smart enough to stop this issue. When we enter data into an email client, it will constantly attempt connecting to the server. Regardless of how many times it gets rejected.
Furthermore, this causes unnecessary strain on the server and problems for the user trying to gain access. The firewall will then block the IP of where those attempts are coming from to protect the server.
We have added a feature for clients to check if their IP is blocked. In addition, clients can now unban their IP using the Unban Centre via their MyDreamIT account.
To proceed, you will need to retrieve the IP address in question. Firstly, go to whatismyip.com, which will automatically retrieve your IP address. At the top of the webpage, you will find your IP address highlighted in blue, under “My Public IPv4 is:”. Lastly, note down your IP address as you will need it later.
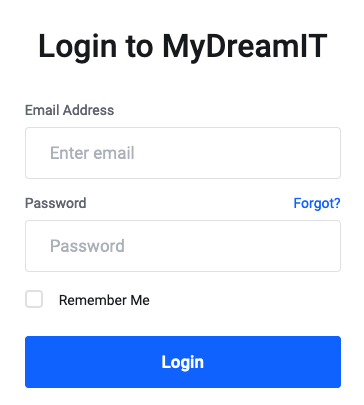
1. Log in to your MyDreamIT Portal. You can log in to your MyDreamIT Portal here: my.dreamithost.com.au/login.
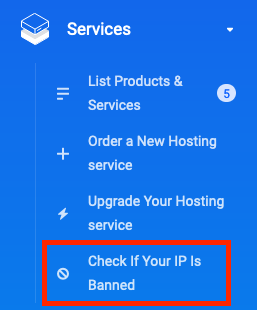
2. Once logged into your MyDreamIT Portal, on the left-hand side, click on the Services tab, then click Check If Your IP Is Banned.
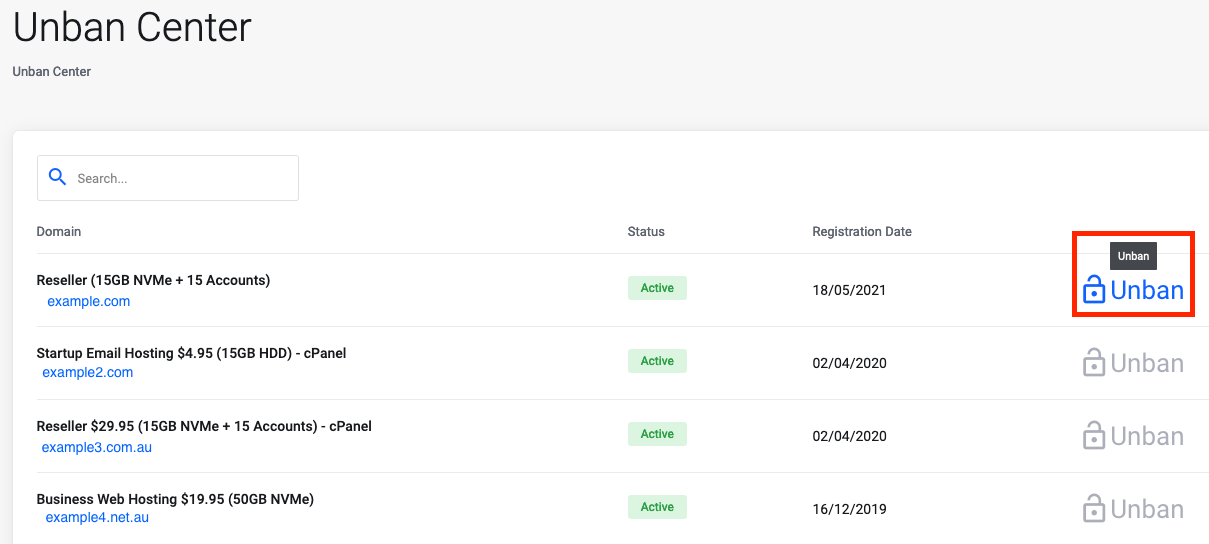
3. Now, click on the padlock/Unban section of the service with issues.
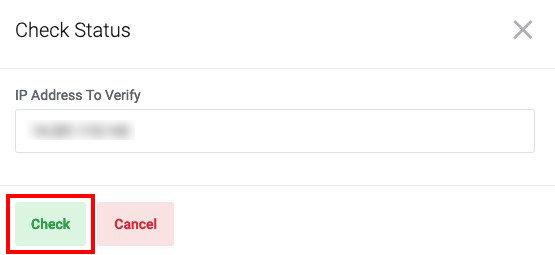
4. By default, your current IP address should be pre-filled. However, it is always good to have the IP address handy, particularly if you need to check an IP for someone else. Enter the IP address you wish to review, then click the Check button.
5. It will advise whether your IP is banned or not.
You will see the following green box if your IP is not banned:

You will see the following red box if your IP is banned:

In addition, it will specify the reason for the IP ban. In the example above, the IP was manually blocked. From here, you can click the Unban button to remove the block on your IP.
You must be logged in to post a comment.
