How to Install WordPress Using DreamIT Host’s Inbuilt WordPress Manager
Leave a comment
You must be logged in to post a comment.
How to Install WordPress Using DreamIT Host’s Inbuilt WordPress Manager

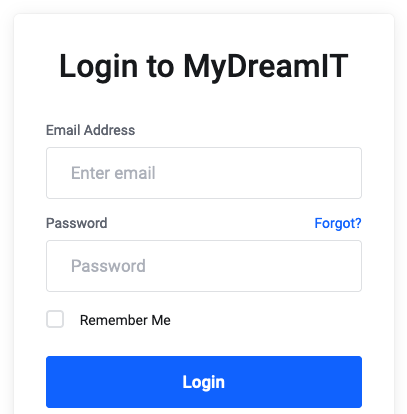
1. Log in to your MyDreamIT Portal. You can log into the MyDreamIT Portal via this link: my.dreamithost.com.au/login.

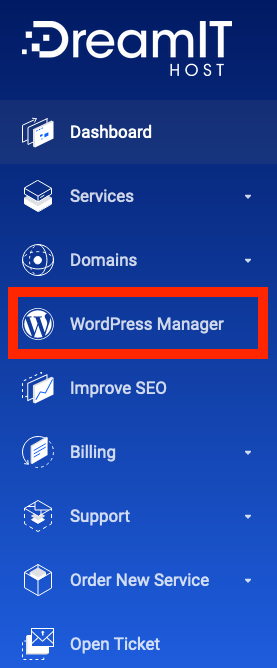
2. On the left-hand side menu, click WordPress Manager.

3. Next, click the New Installation button on the top right-hand side.

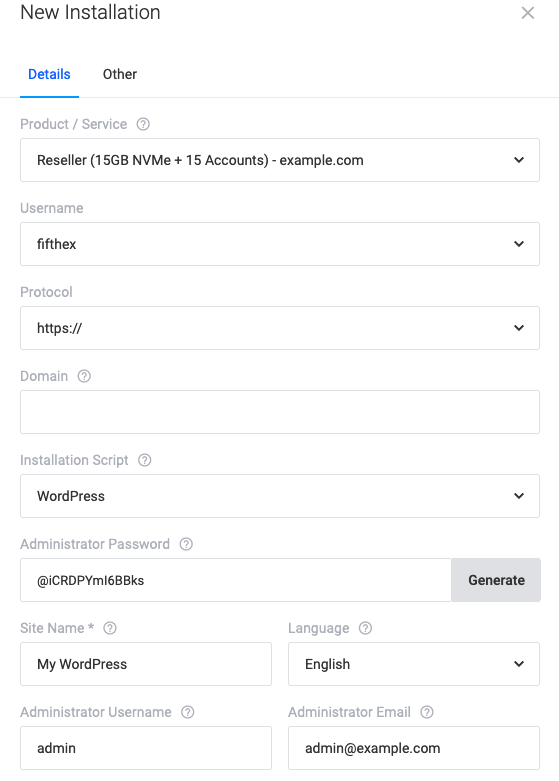
4. A popup for the new installation will open. Fill in the following details on the Details tab:

5. Select the Other tab, then fill in the following details:
6. Click the Create button to install. Once the installation is complete, you will receive a notification on the top right-hand side of the page.
You must be logged in to post a comment.
