How to Install LiteSpeed Cache on Your WordPress Site
Leave a comment
You must be logged in to post a comment.
How to Install LiteSpeed Cache on Your WordPress Site

LiteSpeed employs a highly efficient web server capable of handling significantly more requests per second than other web servers. Enabling the LiteSpeed Cache on your WordPress site offers faster loading times, improved security, and increased scalability.
It delivers content quickly, leading to better search engine rankings, increased visitor engagement, and higher conversions. It also includes various security features to protect against hacking attempts, DDoS attacks, and malware.
You can learn more from our Lightning Fast LiteSpeed Web Hosting blog post.
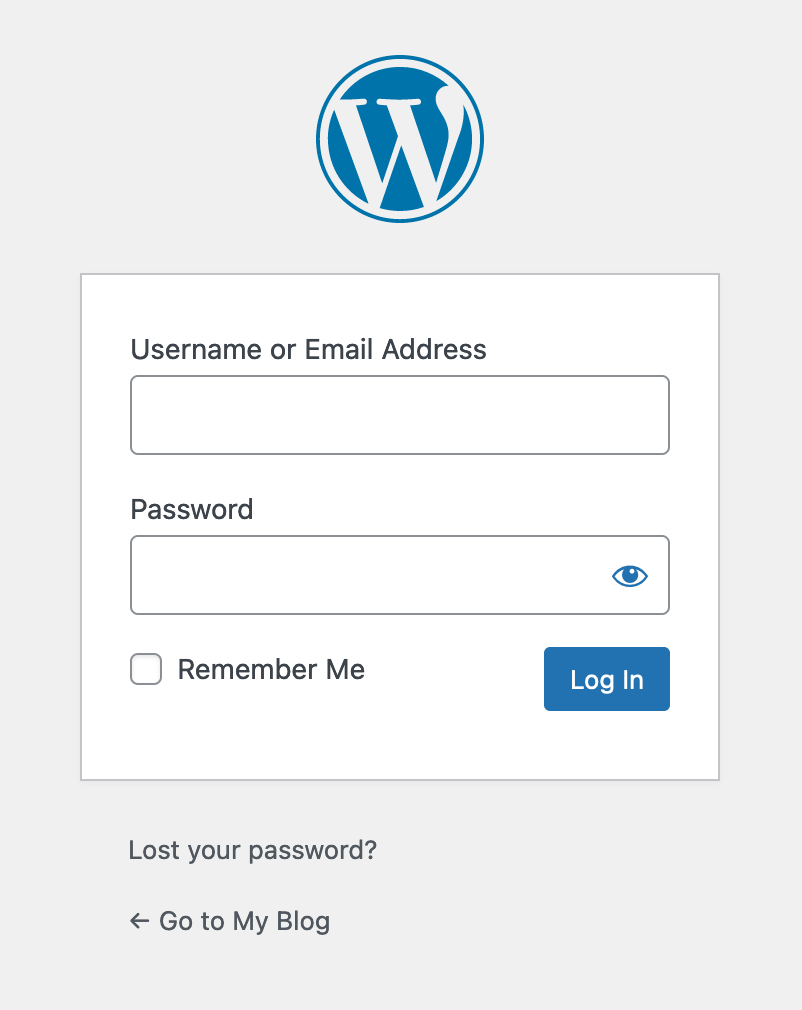
1. Log in to your WordPress backend.
For instructions on how to log into your WordPress backend, please follow this guide here.
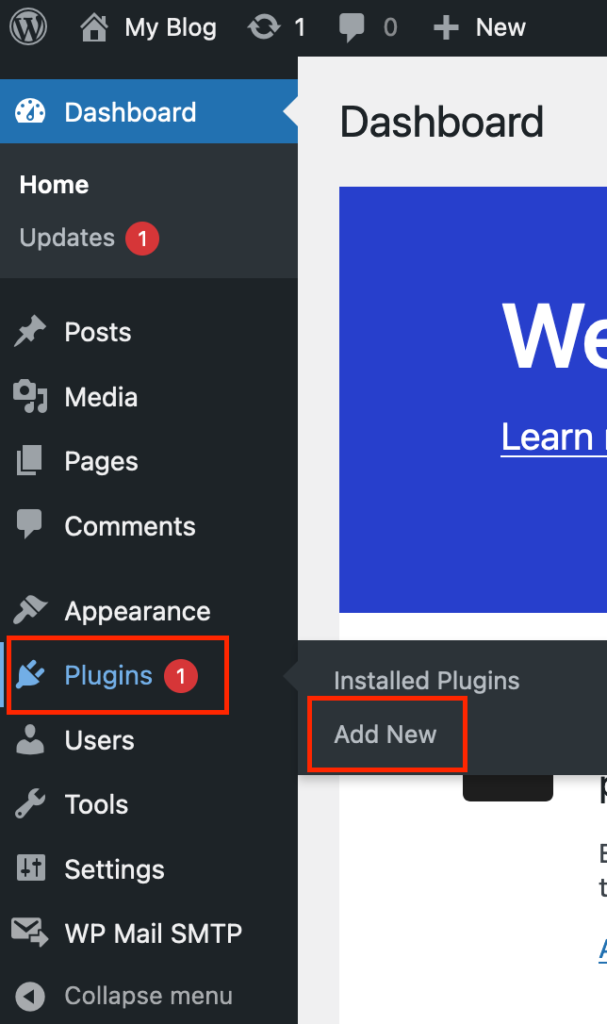
2. On the left-hand side panel, hover over Plugins, then click Add New.
3. In the search bar, type in “litespeed cache”.

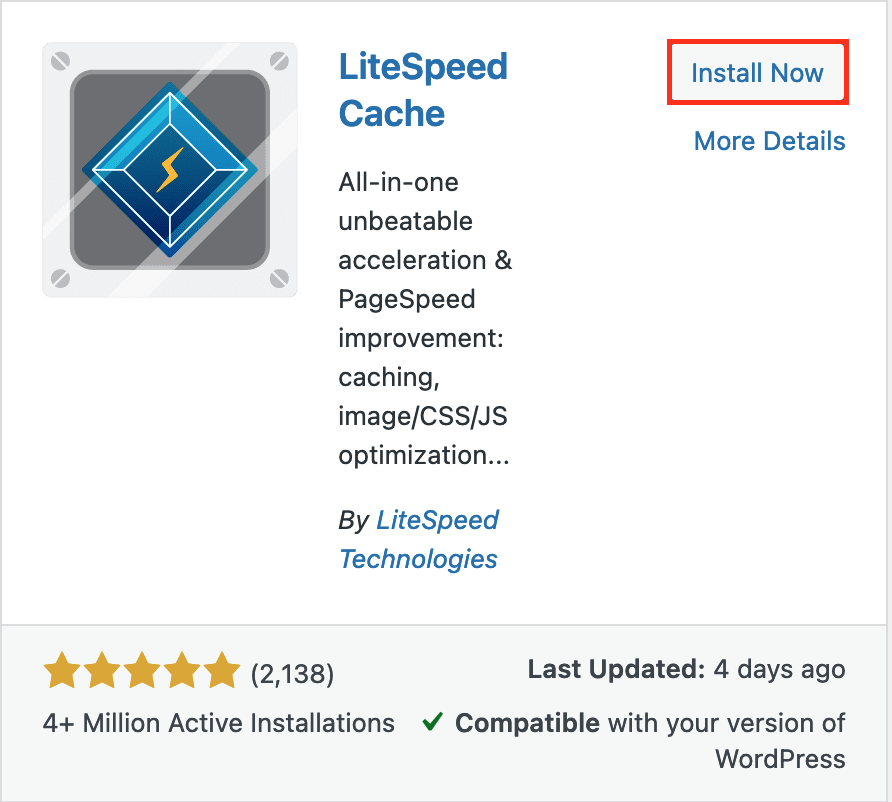
4. Look for ‘LiteSpeed Cache by LiteSpeed Technologies’, then click the Install Now button.
5. Once installed, click the Activate button.
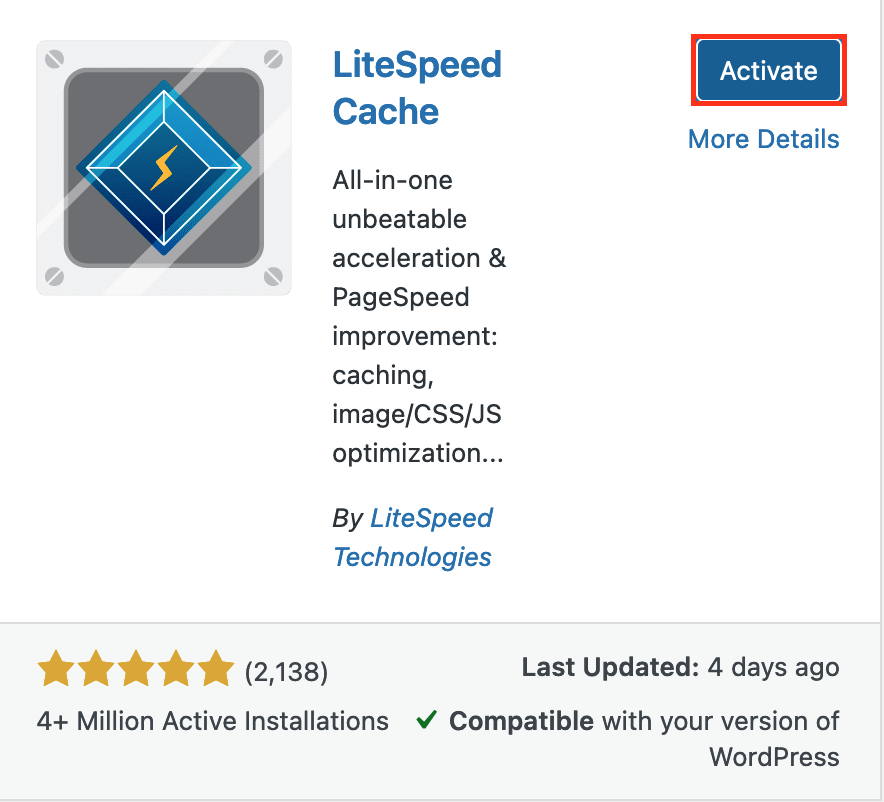
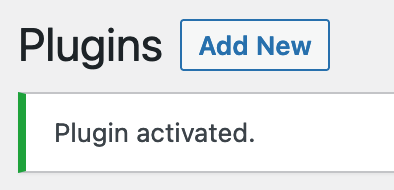
6. Once completed, it will take you to the next page, advising that the plugin is active.
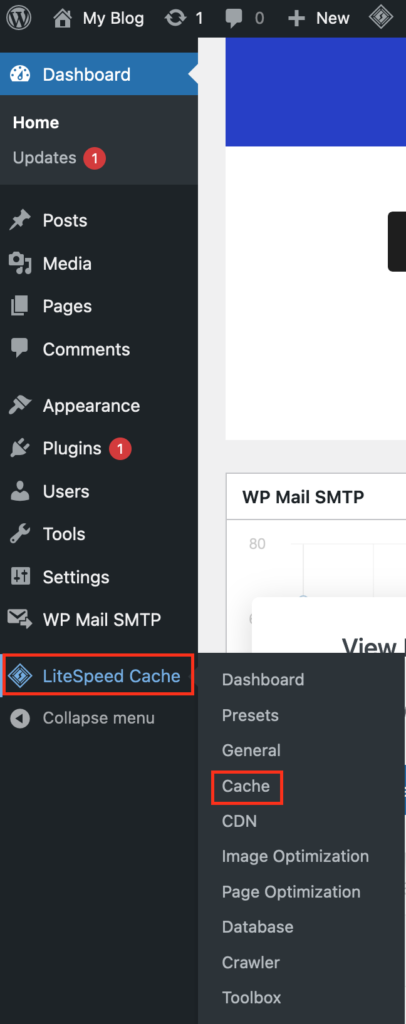
7. On the left-hand side panel, hover over LiteSpeed Cache, then click the Cache option.
8. Ensure the ‘Enable Cache’ option is ON and click the Save Changes button (if you made any changes).

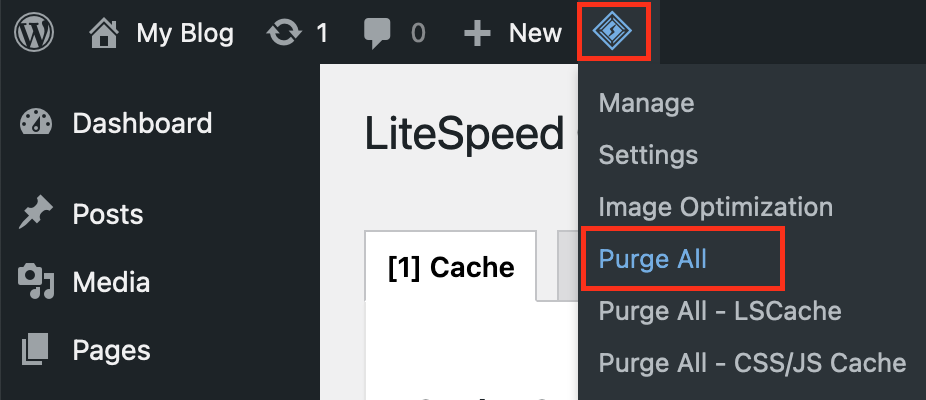
9. Click the Purge All button at the top of the page.
That’s it! You have enabled LiteSpeed on your WordPress site.
You must be logged in to post a comment.
