How to Disable a WordPress Plugin via cPanel
Leave a comment
You must be logged in to post a comment.
How to Disable a WordPress Plugin via cPanel
1. Log in to your cPanel account.
2. Under the Files section, click File Manager.
3. Navigate to the website folder where the WordPress installation is. (Most commonly public_html.)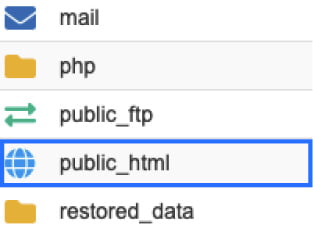
4. Click on the wp-content folder.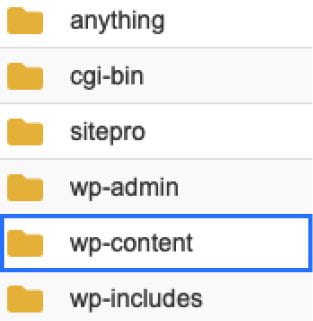
5. Click on the plugins folder.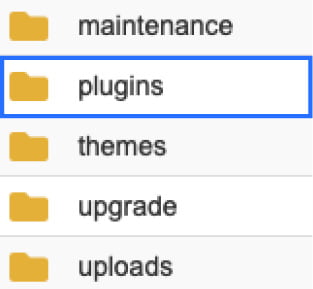
6. Right-click the plugin folder you wish to disable, then click Rename.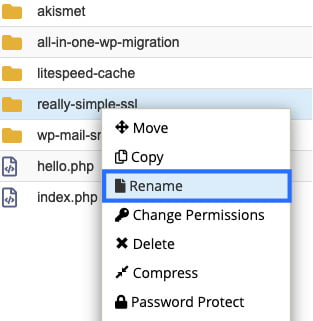
7. This pop-up box will appear. Add ‘.old’ into the new file name, then click Rename File. (To reactivate the plugin, rename it again and remove ‘.old’.)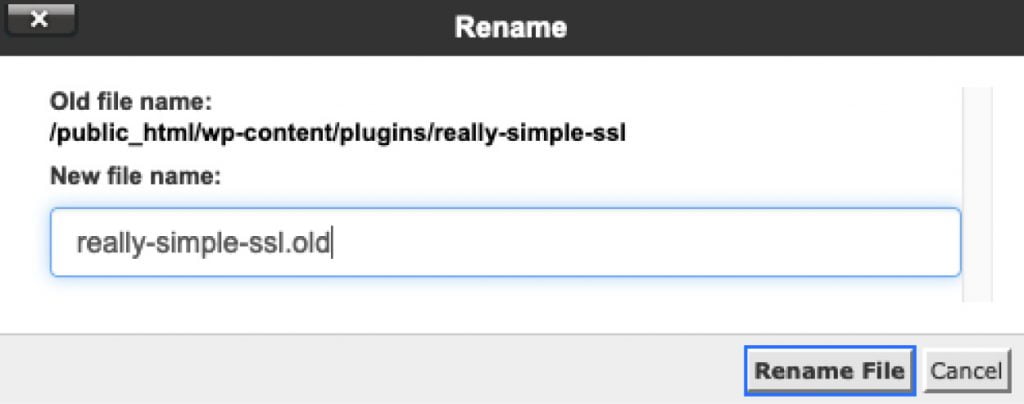
You must be logged in to post a comment.
