

How to Restore Your Website with Acronis (via cPanel)
Follow these steps to restore your website with Acronis:
It’s always best to restore both your website files and the associated database.
To Restore the Website Files
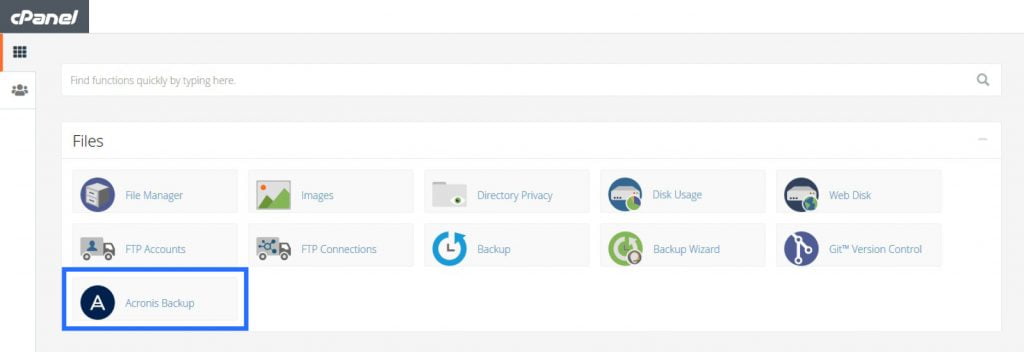
1. Log in to your cPanel account.
2. Under the files section, click Acronis Backup.
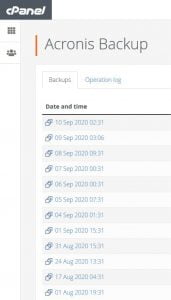
3. A list of timestamps will be shown for the backups available. Select the time stamp period for the files you wish to restore.
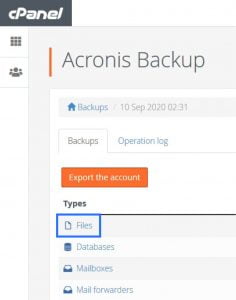
4. Types of backups will be listed, click Files.
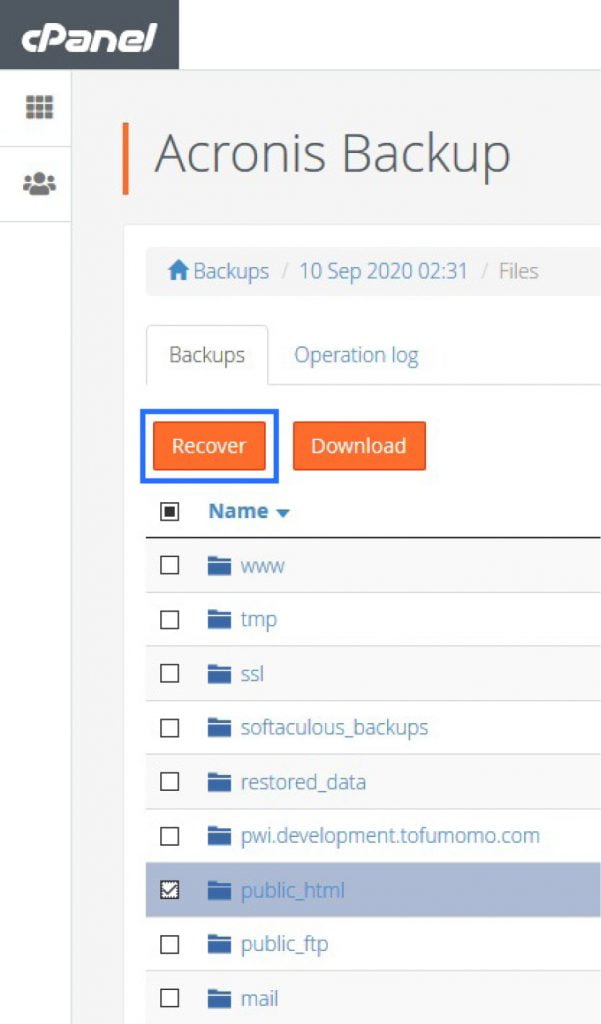
5. Tick the box of the folder you wish to restore. (In most cases, your website files will be located in the public_html folder, unless specified otherwise). Once you have ticked the boxes relating to the folders/files you wish to restore, click Recover.
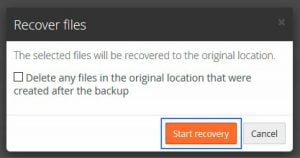
6. A pop-up box will appear that says ‘Delete any files in the original location that were created after the backup’. Tick the box then click Start recovery.
7. A bar will then show that the recovery is In Progress. Once complete, it will show the status of the recovery.

To Restore the Database
1. Log in to your cPanel account.
2. Under the files section, click Acronis Backup.
3. A list of timestamps will be shown for the backups available. Select the time stamp period for the files you wish to restore.
4. Types of backups will be listed, click Databases.

5. Tick the box of the corresponding database to your website, then click Recover.

6. A pop-up box will appear saying ‘The selected databases will be recovered to the original location’. If you choose to add a Suffix, it won’t delete the old database and this one will be recovered with a new name. Then click Start recovery.

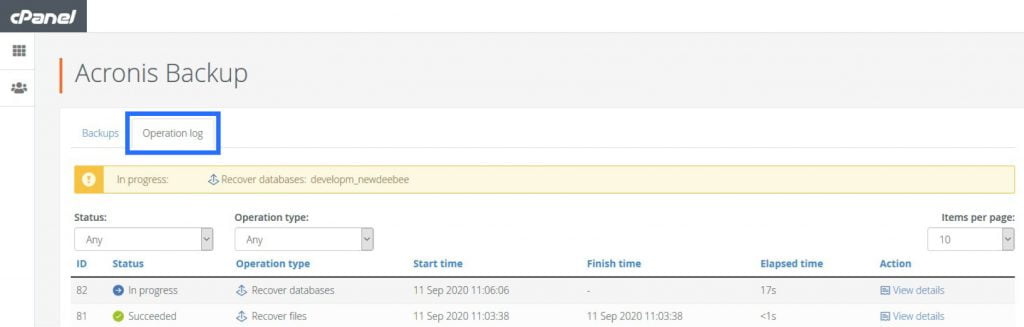
7. You can click on the Operation log tab to track the progress of the recovery.
![]()