How to Change Your WordPress Backend Password via phpMyAdmin

If you have forgotten your login for your WordPress backend, you can reset your WordPress backend password via phpMyAdmin.
First, you will need to find which database your website is utilising. To do this, you will need to access your wp-config file within your File Manager.
1. Log in to your cPanel account. For instructions on how to log in to cPanel, please click here.
2. Under the Files section, click File Manager.

3. Go to the location where your wp-config file is (most commonly stored in public_html with your other website files).
![]()
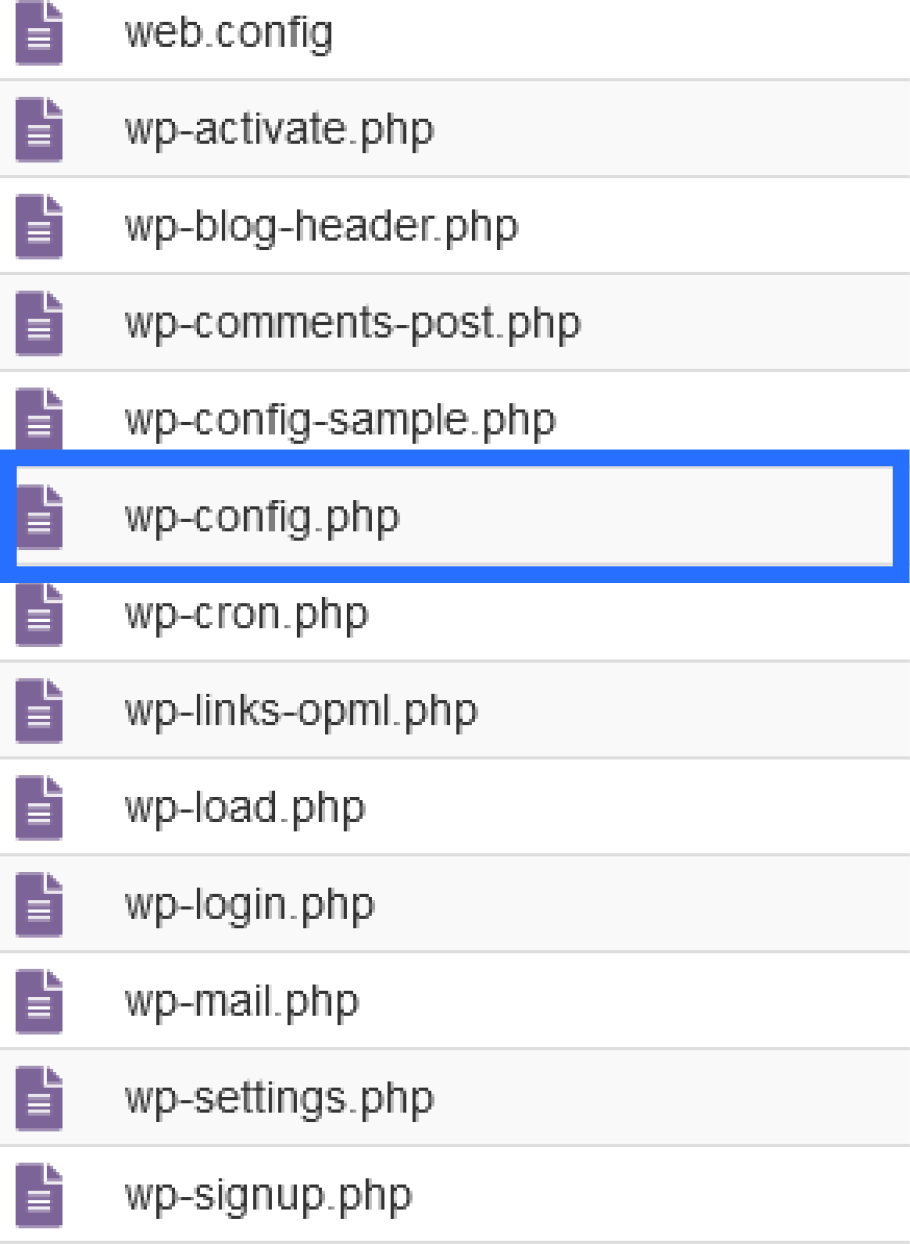
4. Once you have located your wp-config file, right-click the file, then click View.
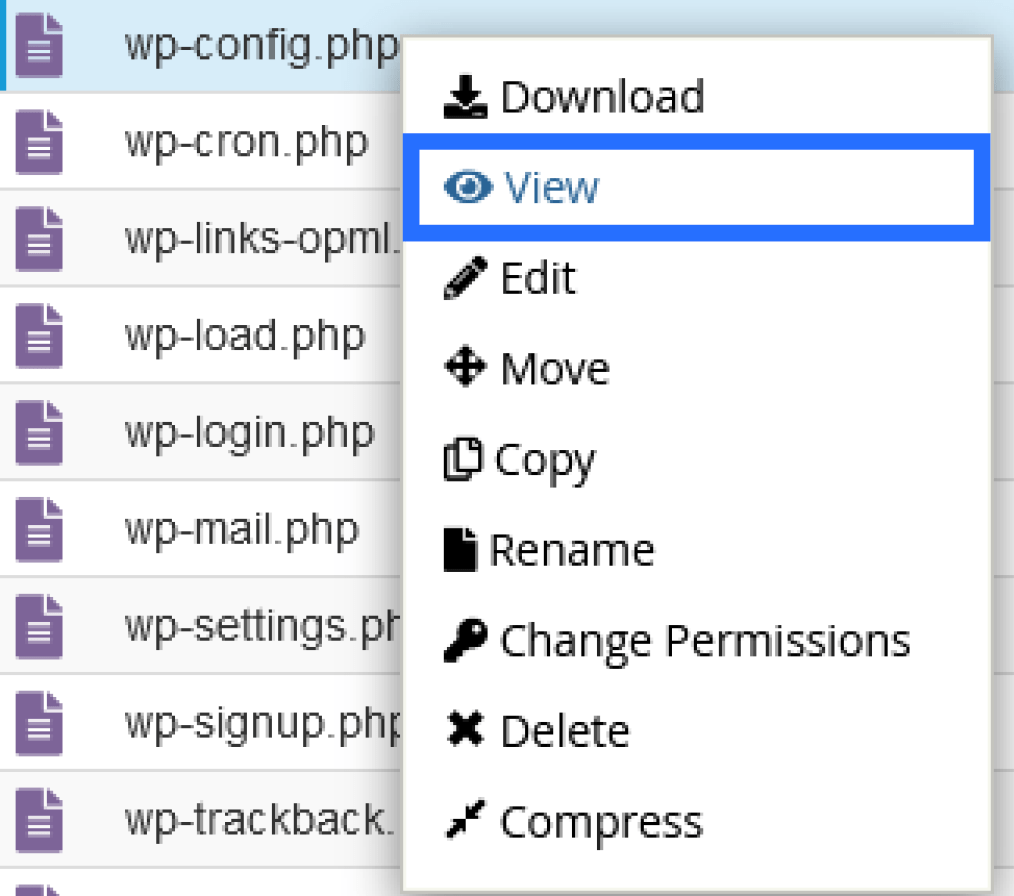
5. This will display the contents of the wp-config file. Look for the code that says: define( ‘DB_NAME’, ‘NameOfDatabase’ );
The database name will be noted where ‘NameOfDatabase’ is listed in the above code.In this example, the database name is ‘tofumomo_wp194’.

Now that you have the name of the database, you will need to access phpMyAdmin in your cPanel.
6. Under the Databases section, click phpMyAdmin.

7. On the left-hand side panel, select the database that was listed in your wp-config file. (In this case, the database is ‘tofumomo_wp194’, as per the previous screenshots).
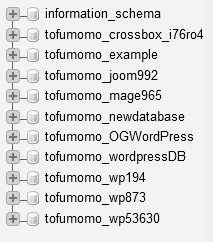
8. Once you select the database, it will provide you with a list of tables. You need to locate the table that includes the list of users who can access your WordPress backend.
This table may have different names depending on how the website was built. In most cases, it will contain the word ‘users’ in the name. In this scenario the table name you want to select is ‘wpa9_users’.
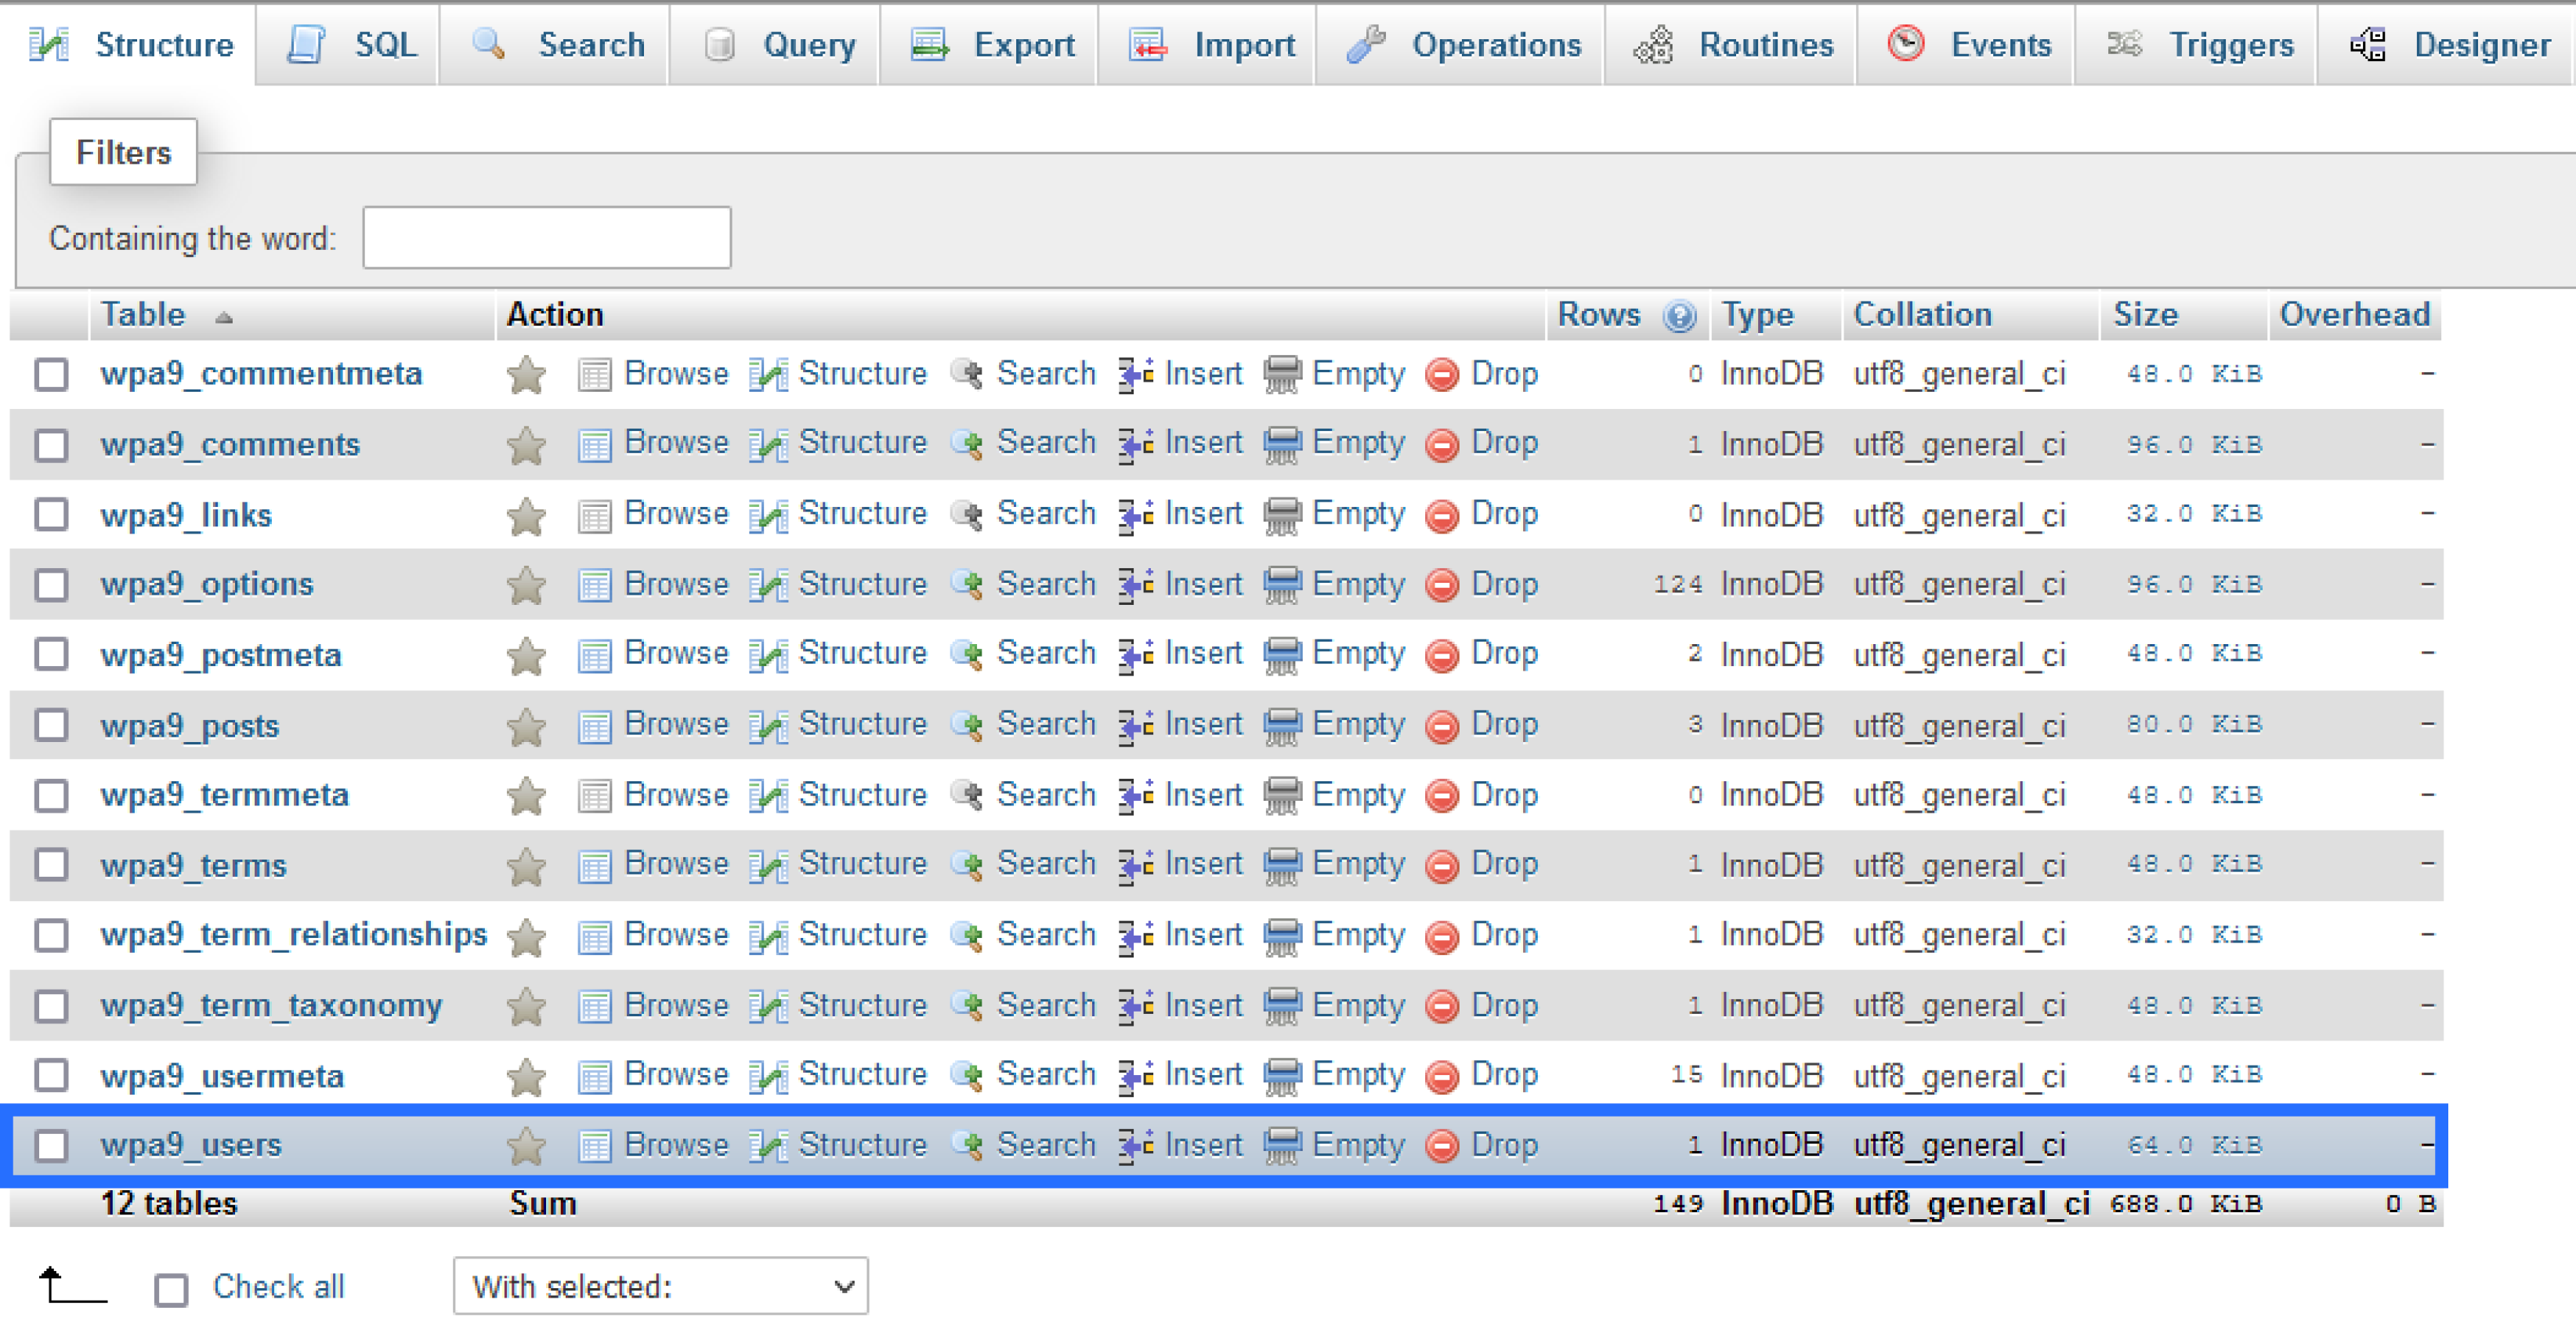
9. This will open up a list of entries within the table (‘wpa9_users’). In this example, there is only one user.
You want to look for your WordPress username under the column ‘user_login’. The username in this example is ‘6gycj’.

10. Now that you have located your username, click on Edit.

11. You will see a list of entries, you will need to make changes to the row where it says ‘user_pass’.
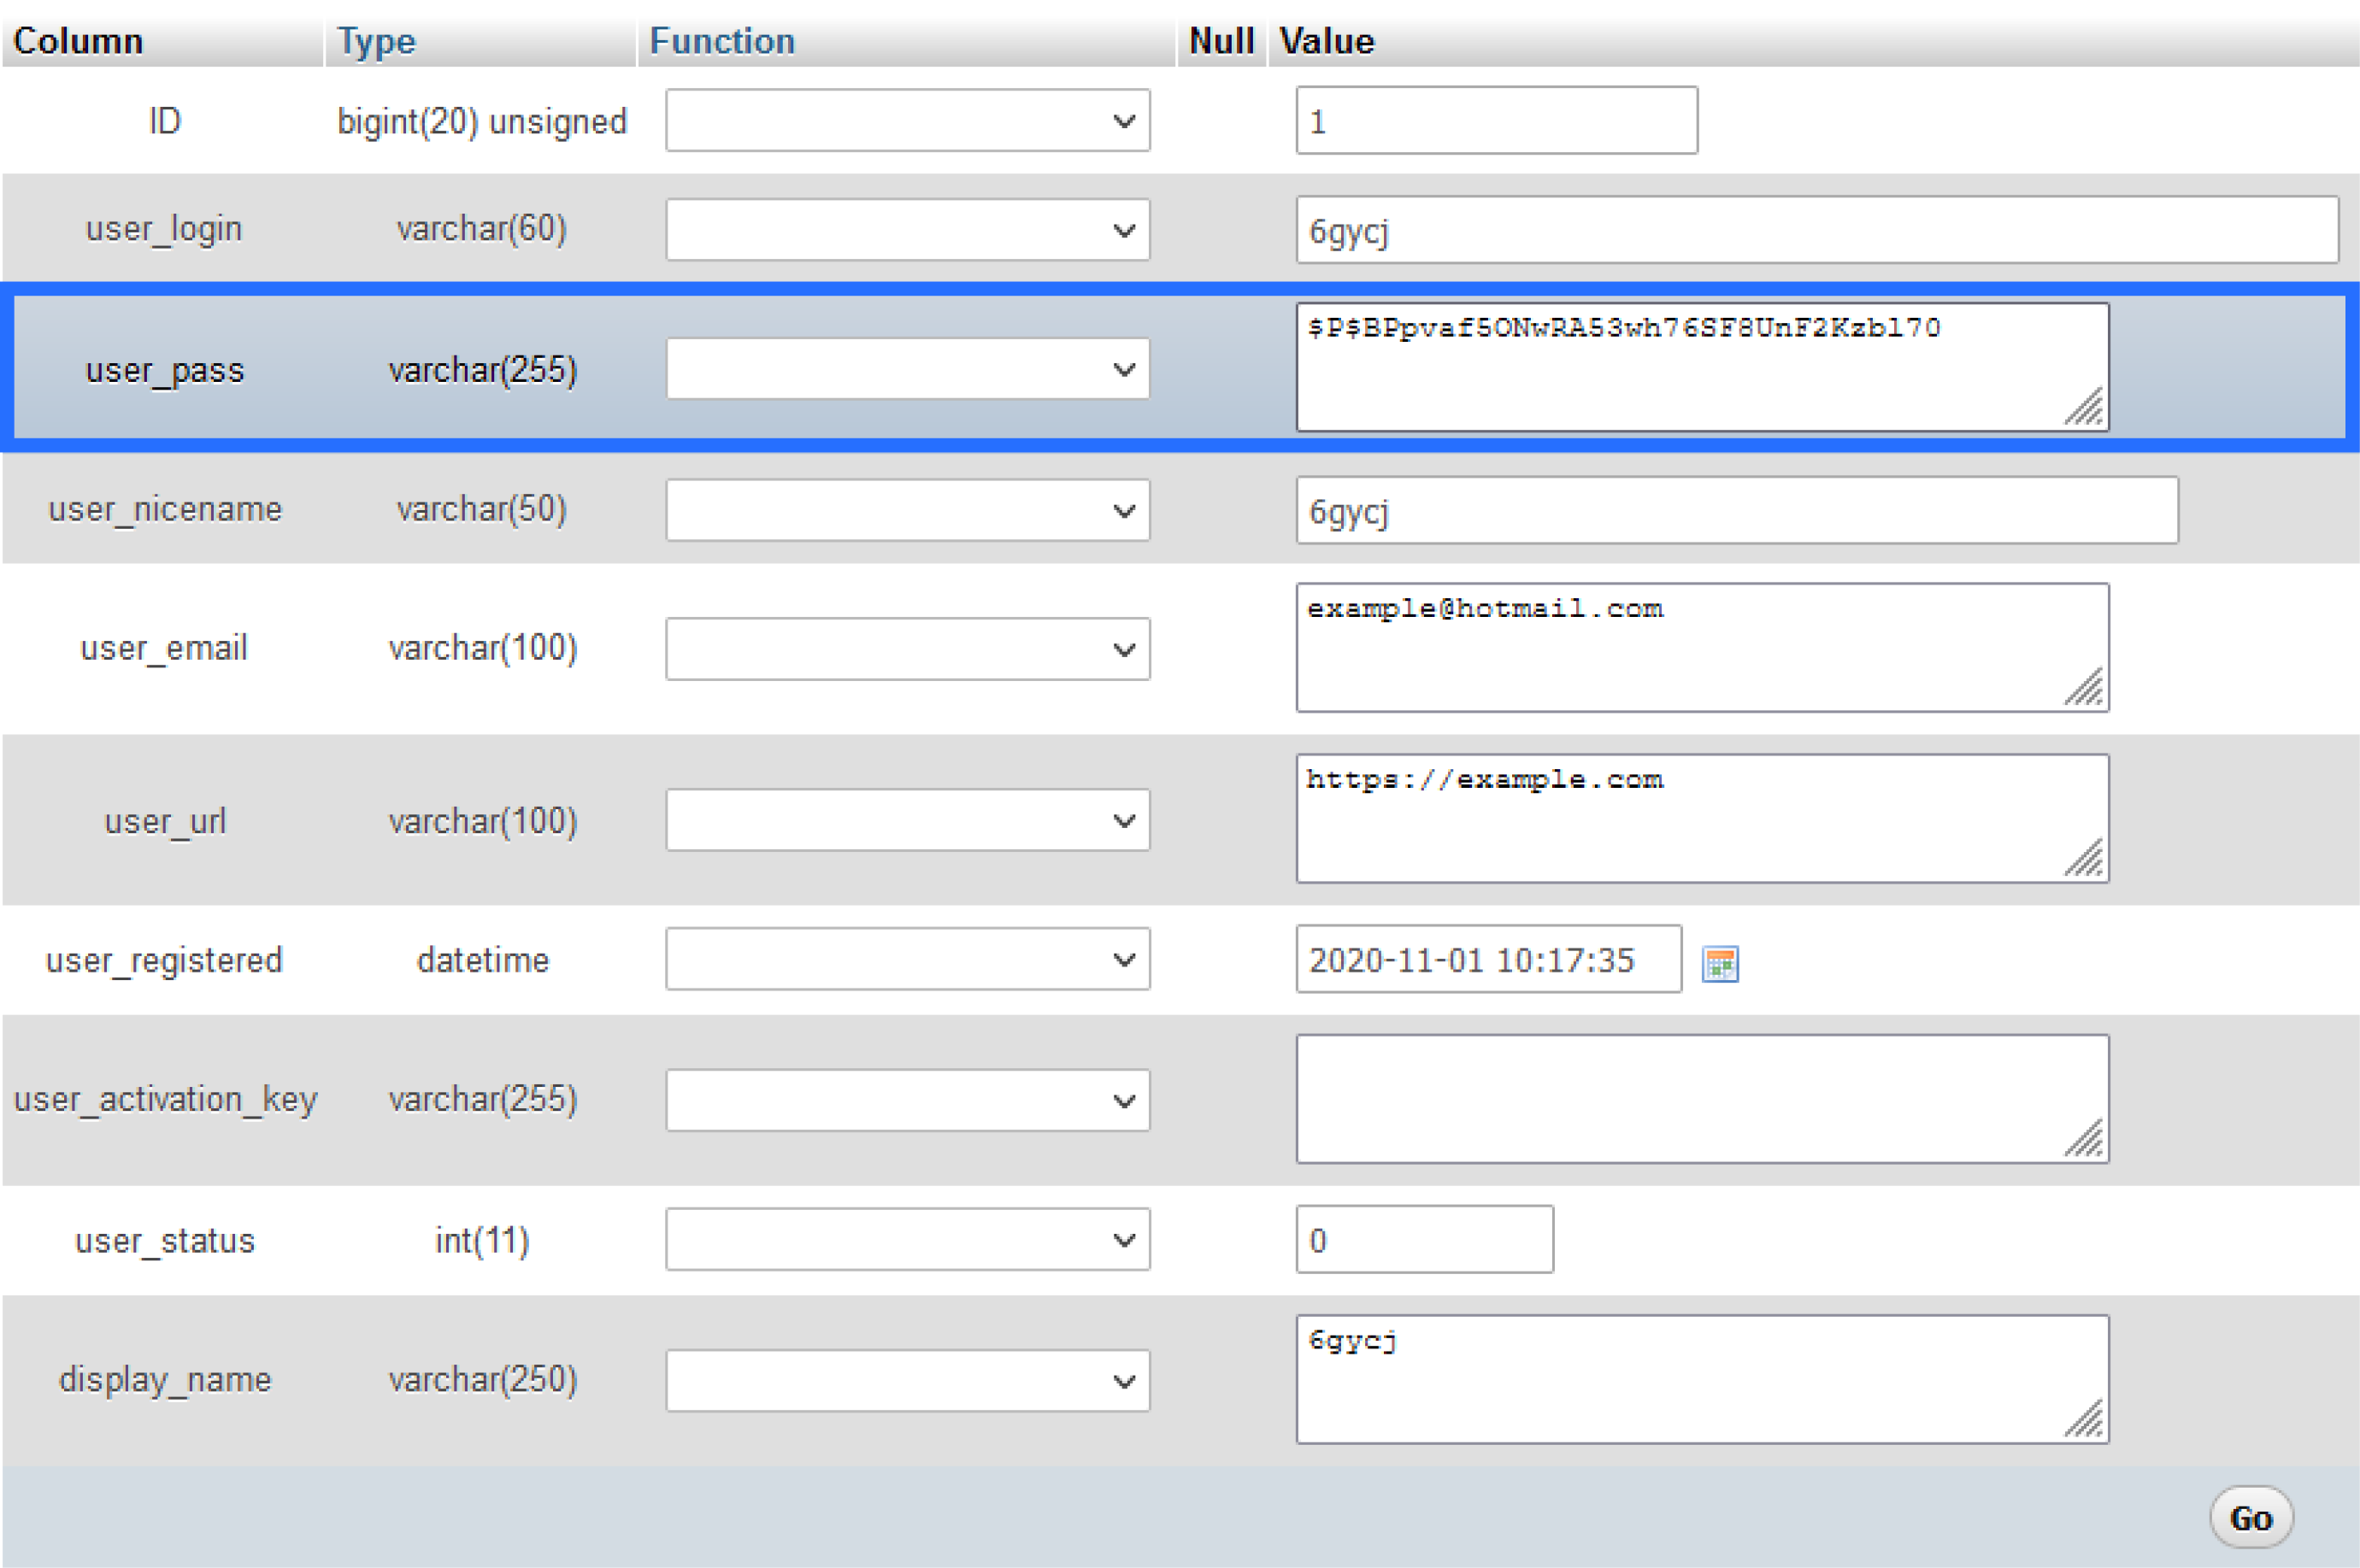
12. Select the drop-down box under the Function column and choose the option MD5. In the Value column, remove any existing text and enter in your new password.

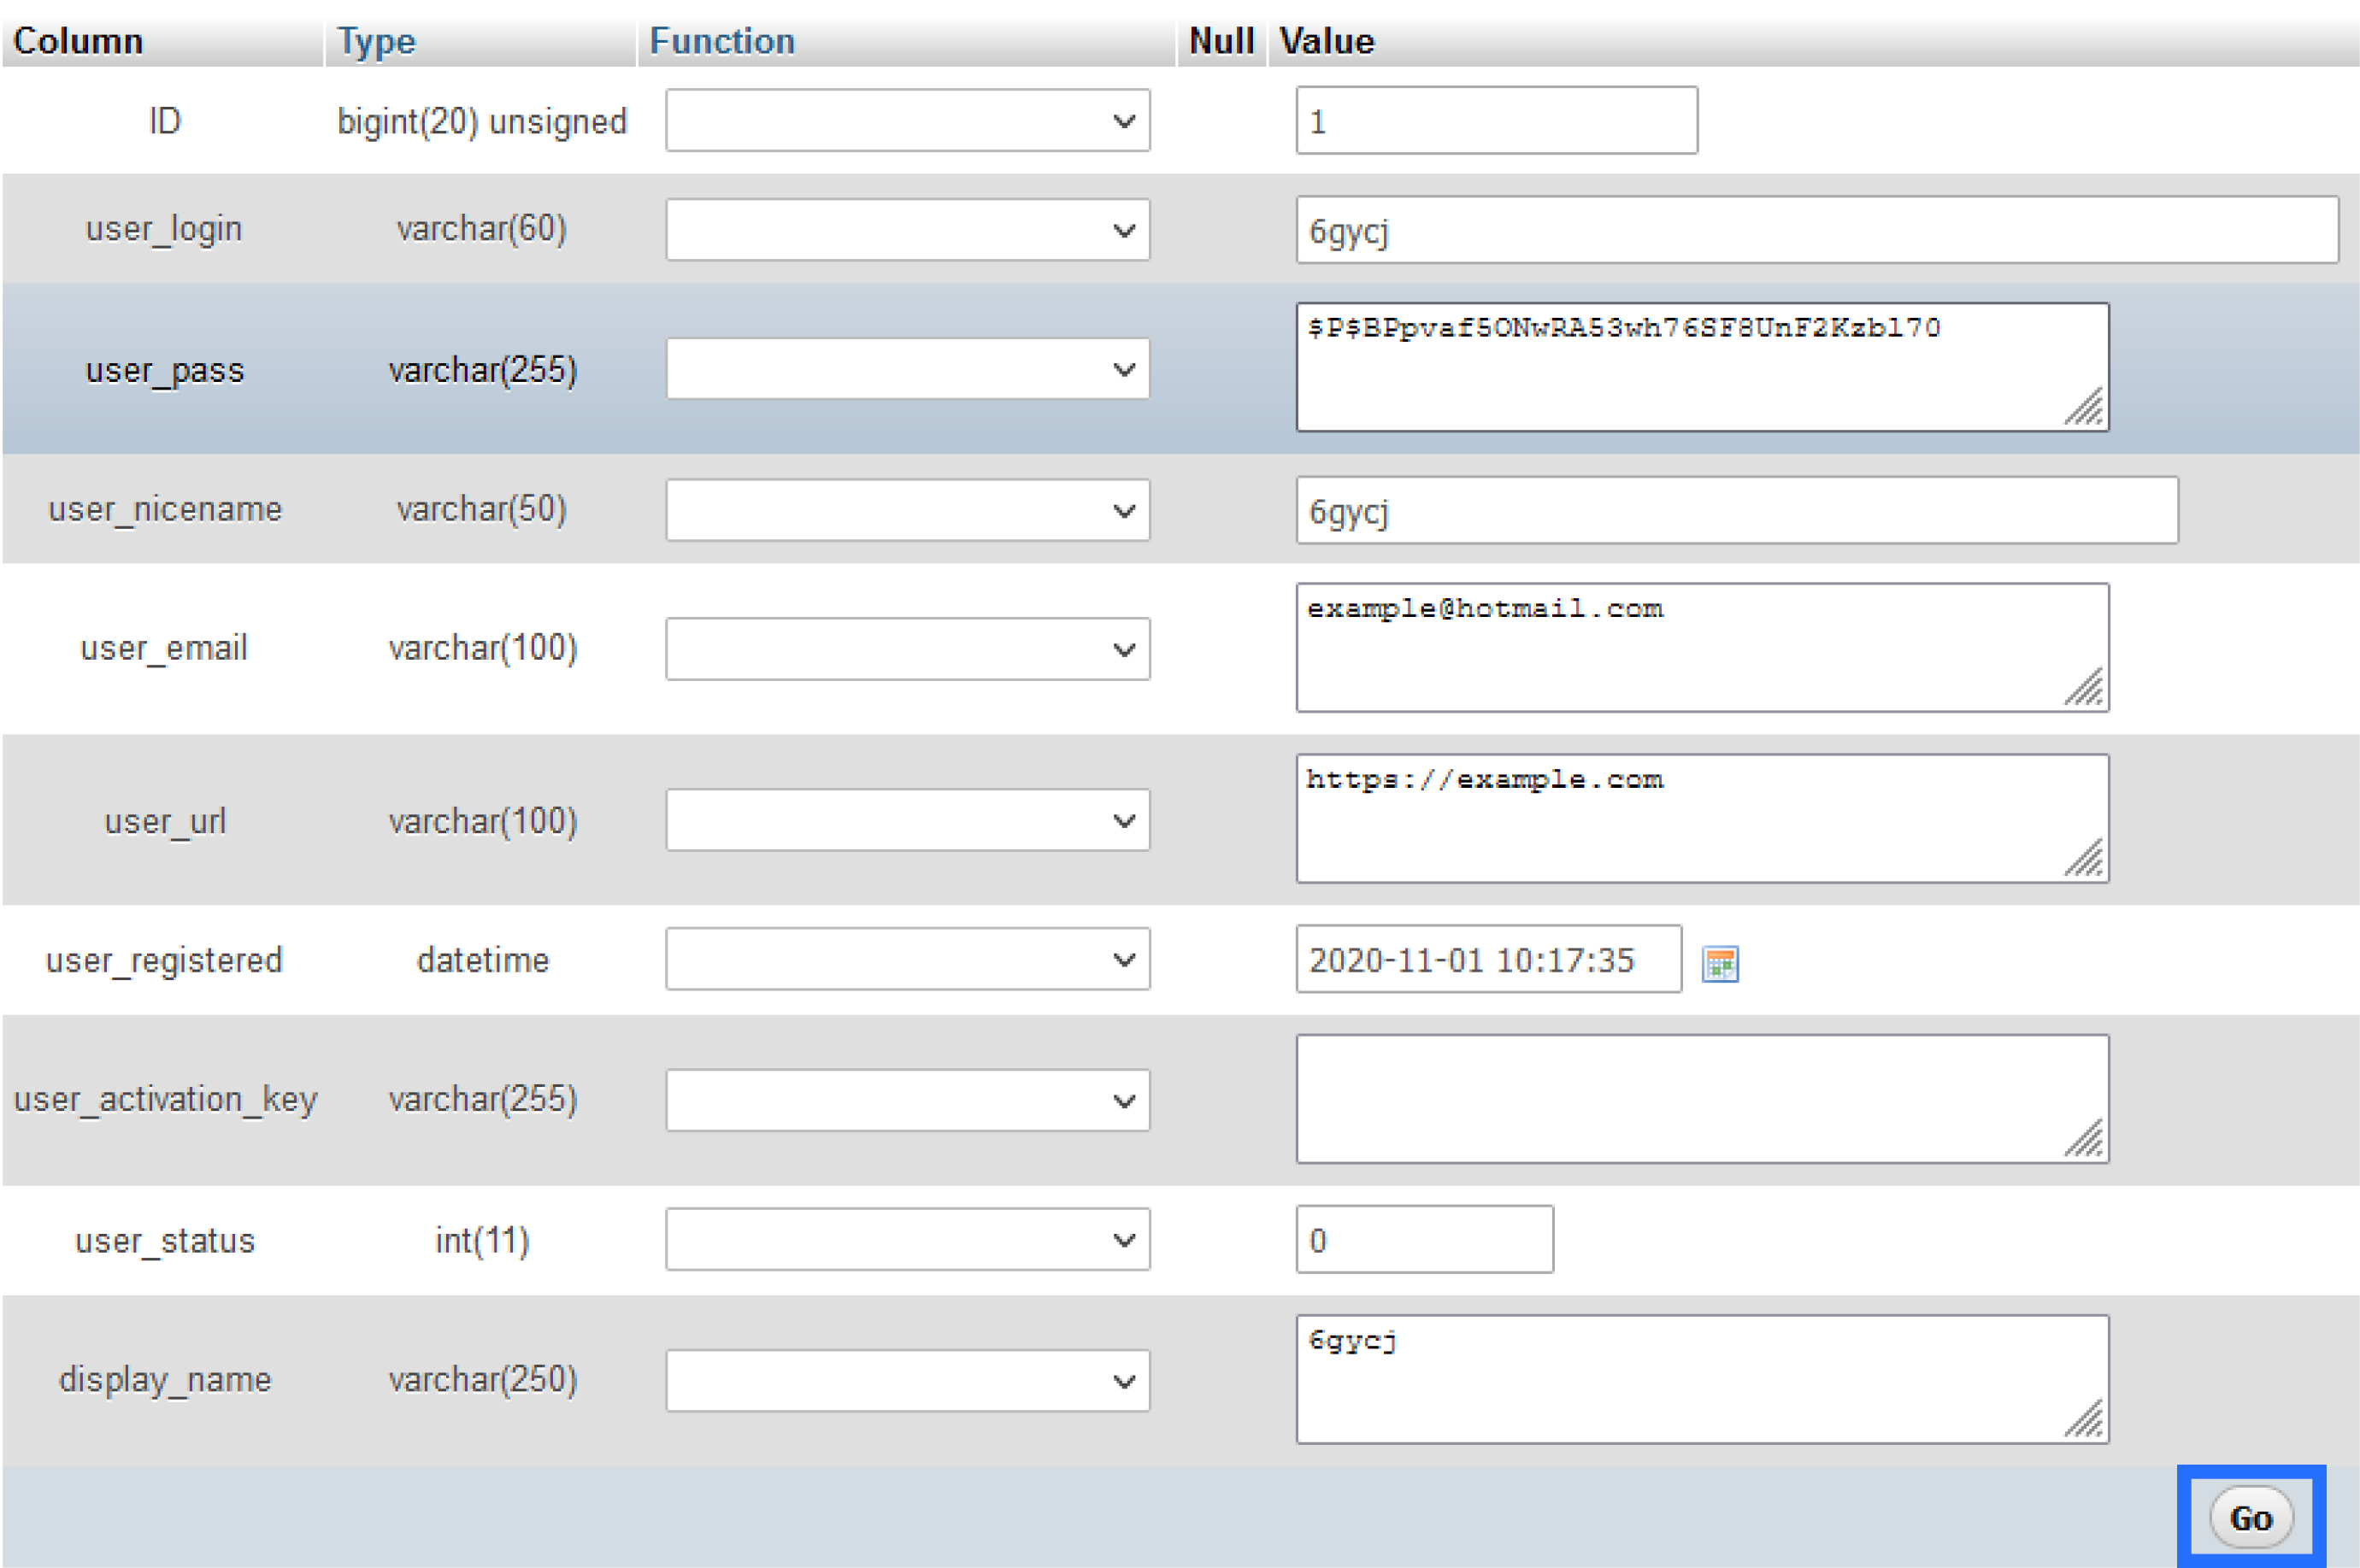
13. Once your new password has been entered, click Go. This will save your new WordPress backend password.
Congratulations! You can now log in to your WordPress backend with your new password 🙂
