
How to Manually Migrate Your WordPress Website Using the All-In-One WordPress Plugin
Follow these steps to manually migrate your WordPress website using the all-in-one WordPress plugin:
You will need to download the file from the losing host then upload the WordPress file to your new host.
Downloading the file from the losing host
Ensure your A record/nameservers point to the old host.
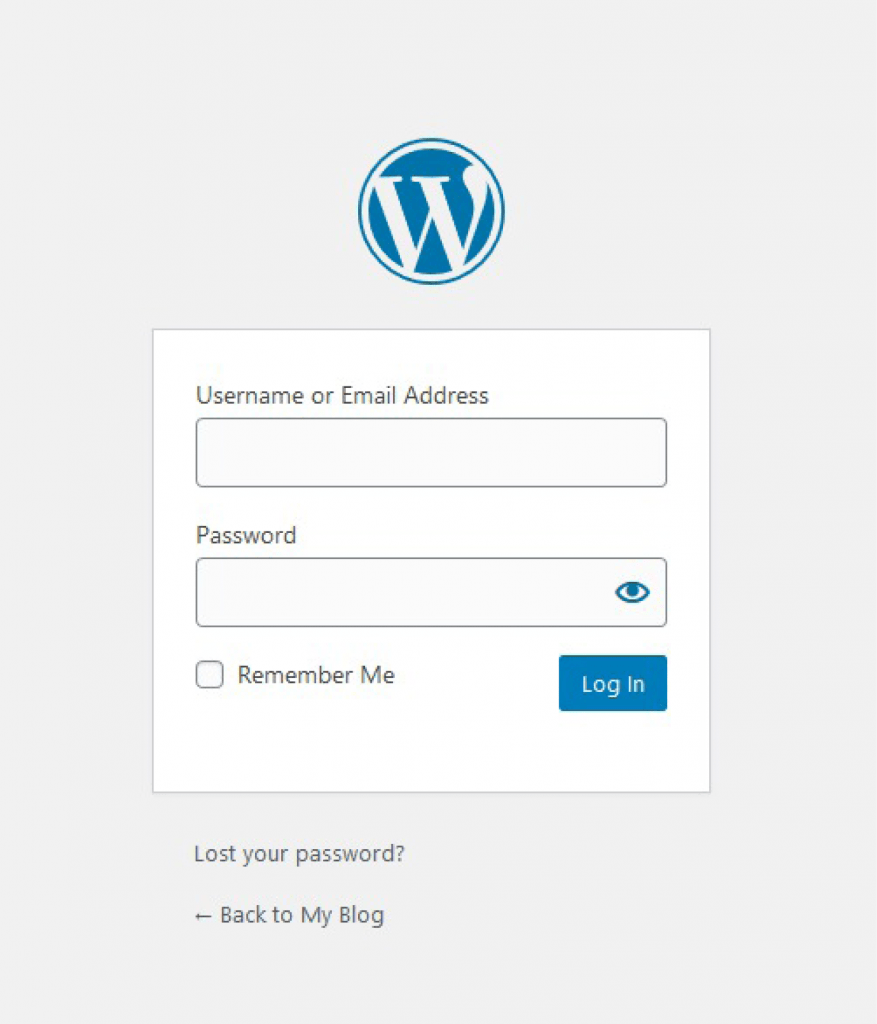
1. Log in to your WordPress admin account. The most common method to log in is by entering yourdomainname/wp-admin. If this does not work, try yourdomainname/login.php. For example example.com/wp-admin or example.com/login.php.
2. Log in with your Admin details.
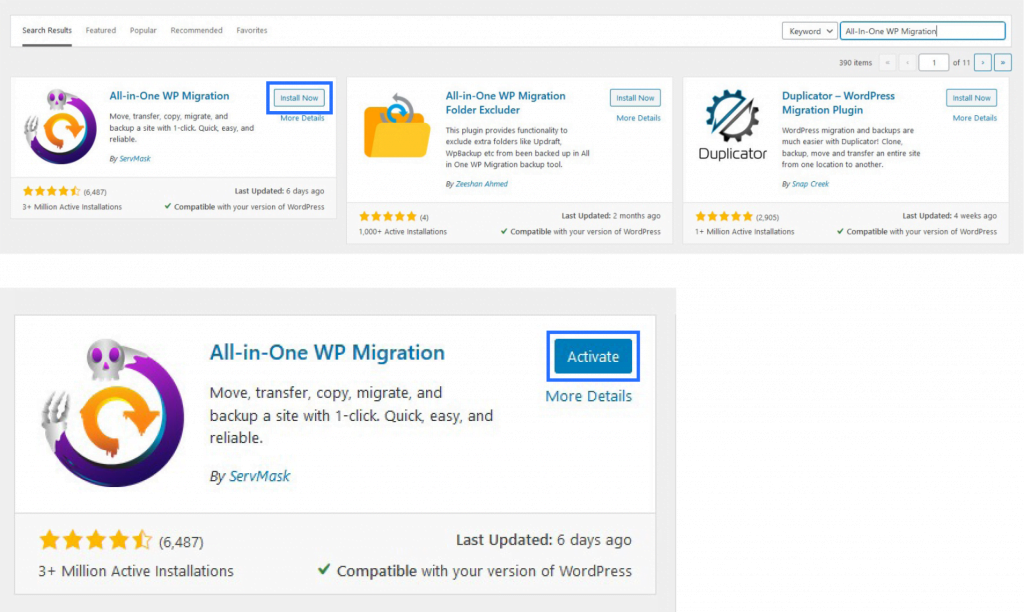
3. On the left-hand side panel, scroll down and hover over the Plugins tab, then click Add New.

4. Search for the plugin called ‘All-In-One WP Migration’. Click Install Now then click Activate.
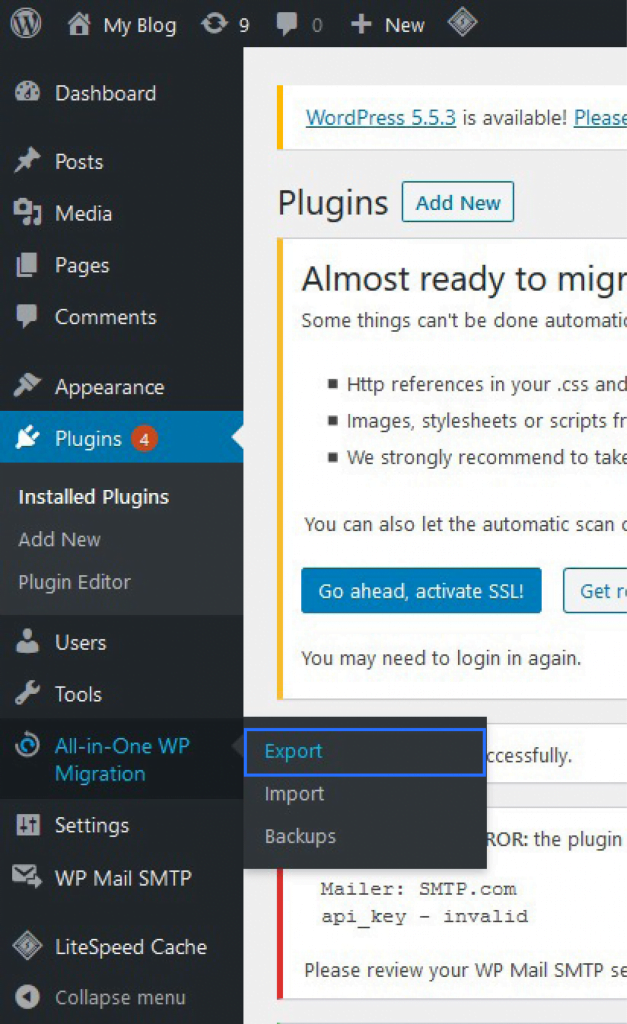
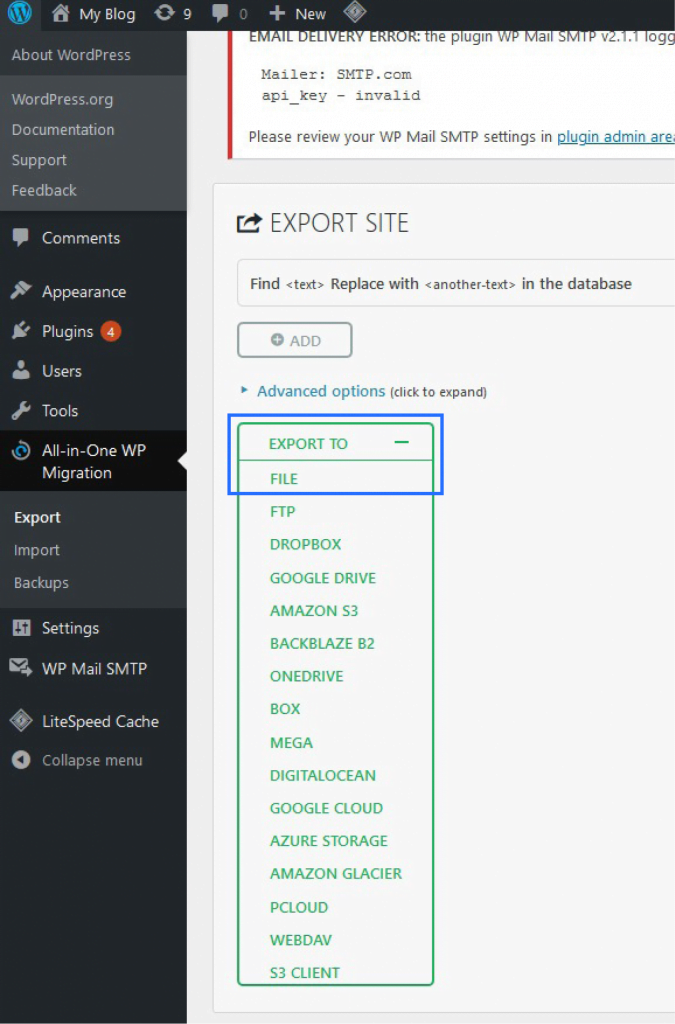
5. Go back to the left-hand side panel, scroll down and hover over ‘All-In-One WP Migration’ then click Export.
6. Under the Export Site section, click on the drop-down box for Export To and select File.
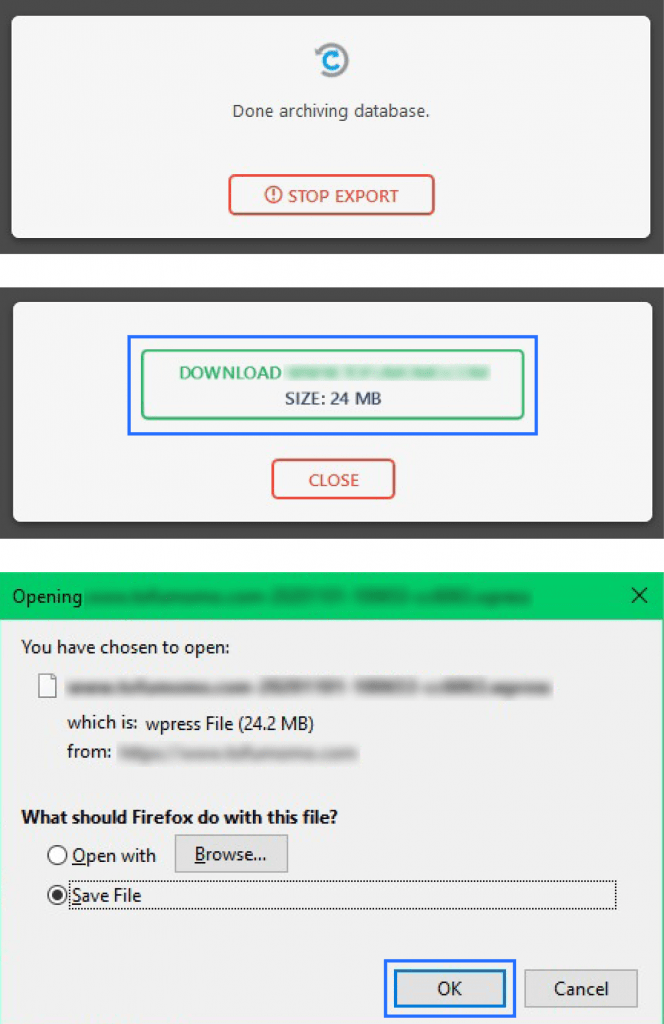
7. The exporting will begin. Once completed, it will prompt you to download the file. Click Download and save the file.
Uploading the WordPress file onto your new hosting
Firstly, you will need to change your domain’s IP to the new server IP using your local host file.
To do this, follow the instructions in the links below:
For Mac – https://dreamithost.com.au/how-to-change-local-host-file-on-mac/
For Windows – https://dreamithost.com.au/how-to-change-local-host-file-on-windows/
You will also need to install WordPress on your current hosting panel. You can do this using Softaculous.
To do this, follow these instructions: https://dreamithost.com.au/how-to-install-wordpress-with-softaculous/
Now that the prerequisites are completed, you can continue with the upload process.
1. Log in to your WordPress admin account. The most common method to log in is by entering yourdomainname/wp-admin. If this does not work, try yourdomainname/login.php. For example example.com/wp-admin or example.com/login.php.
2. Log in with the Admin details that you created on your new hosting server.
3. On the left-hand side panel, scroll down and hover over the plugins tab, then click Add New.
4. Search for the plugin called ‘All-In-One WP Migration’. Click Install Now then click Activate.
5. Go back to the left-hand side panel, scroll down and hover over ‘All-In-One WP Migration’ then click Import.

6. Under the Import Site section, upload the WordPress file downloaded previously from your losing host. You can drag the file directly into the import section or click Import From to upload your files.
Note: In the event that you have issues uploading and restoring the website due to time out errors or upload size errors, you will need to review your PHP settings within your cPanel account. To do this, you can log into your cPanel account > Multi PHP in Editor.

7. Once the upload has been completed, it will ask if you would like to proceed, advising that it will remove the old website. (This will be the blank WordPress website you just installed.) Click Proceed.

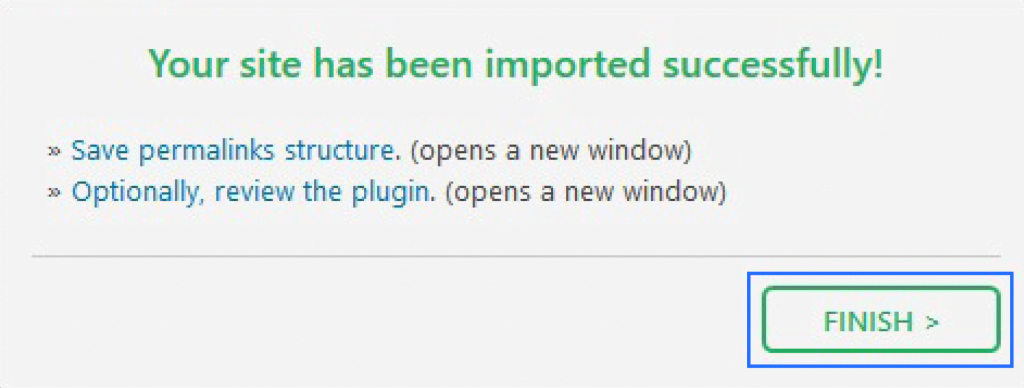
8. Once the backup is restored, the migration is completed. Click Finish.
Notes
You can verify the website works by opening up the website in a private browser/incognito mode.